 daytime LED cluster: inserting the screws
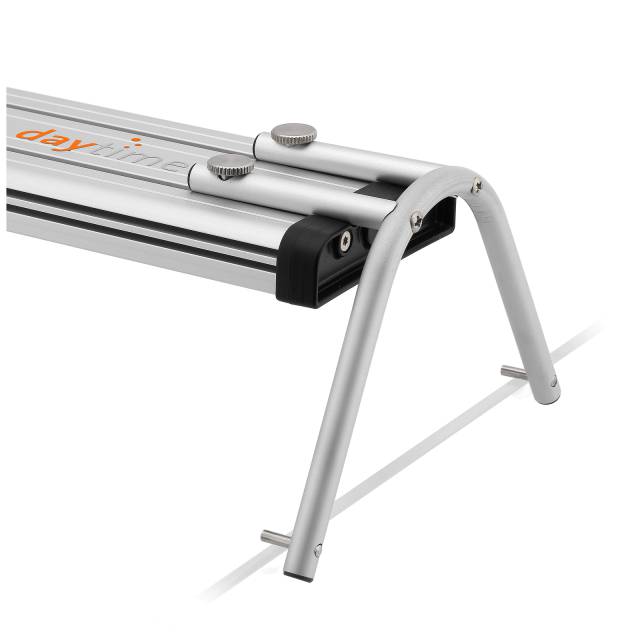
The cluster LED lights from daytime can be mounted on the aquarium in many different ways. Depending on the mounting method you want, different adapters are connected to the light body.
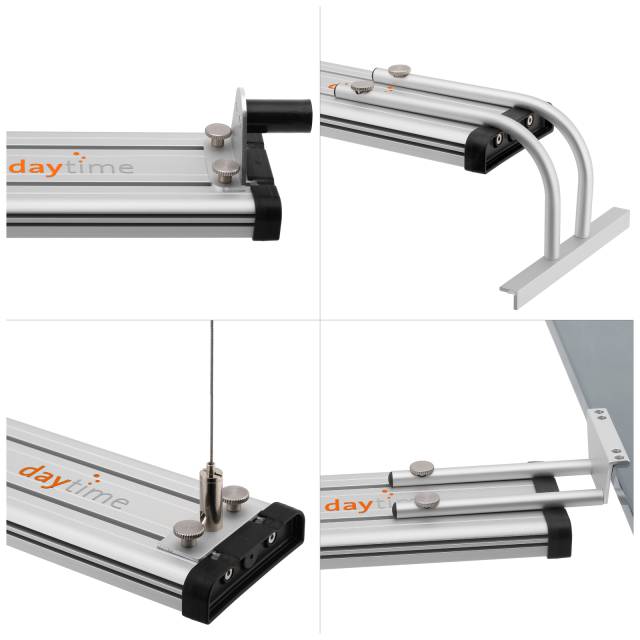
With the cluster series, mounting is usually done with the supplied knurled screws and nuts. Here we show you how to do the assembly most easily.
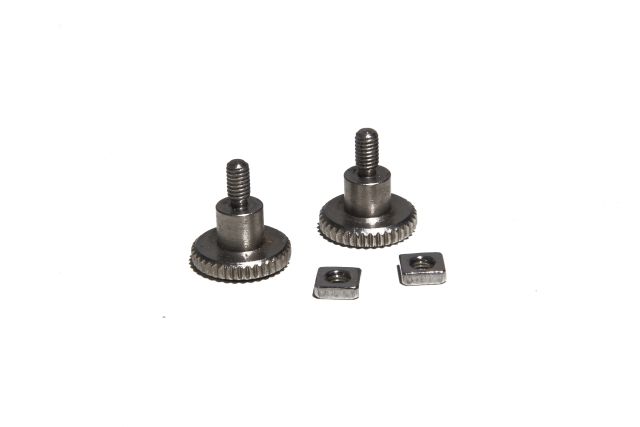
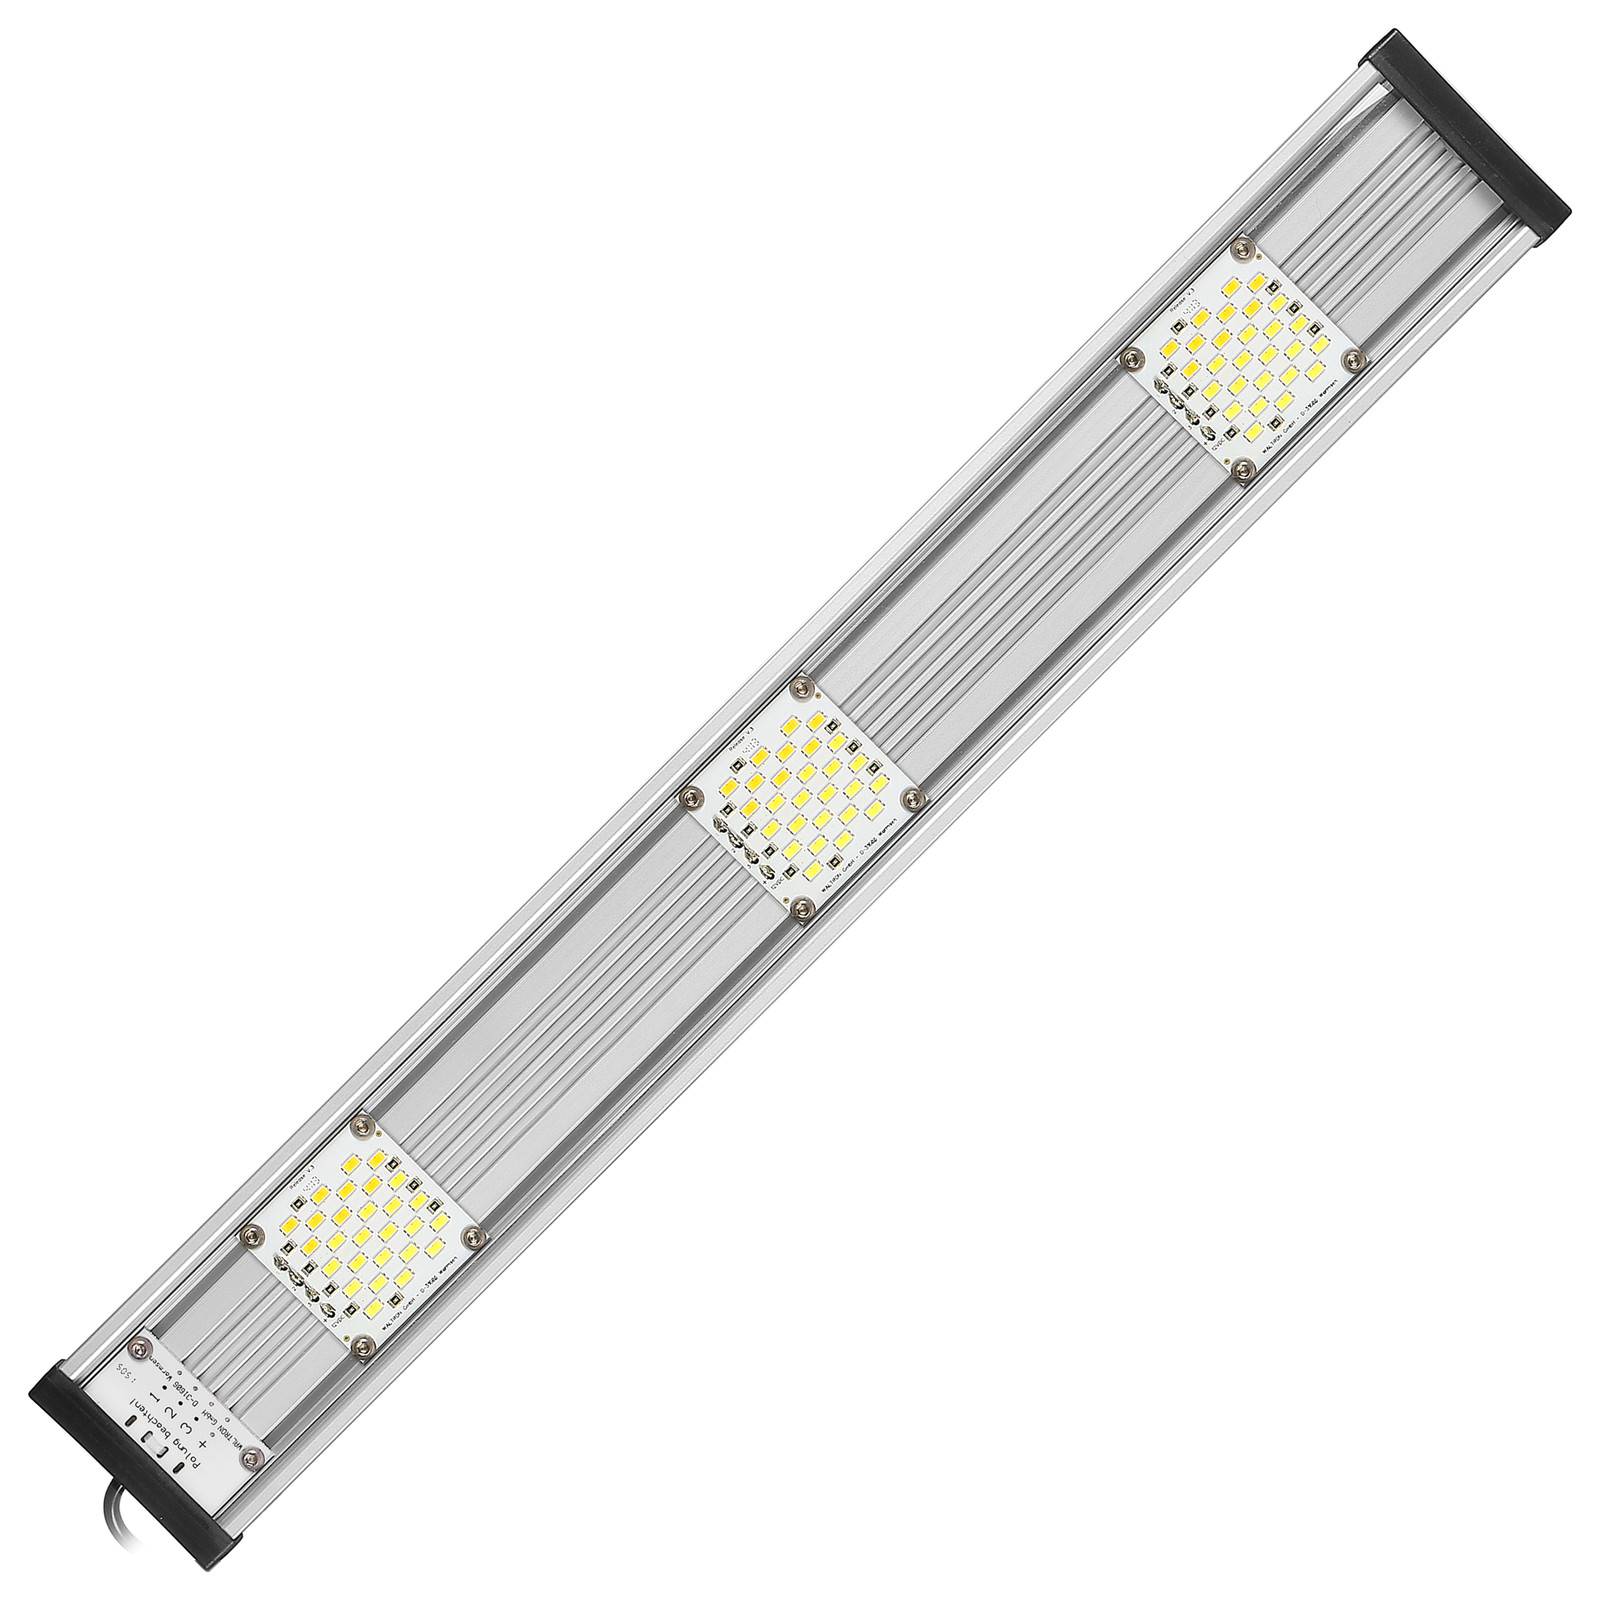
Each cluster light bar has two recessed guide rails on the left and right of the aluminum heat sink. The square nuts are inserted into these rails. For this, there is a small opening exactly in the middle of the bar through which the nut fits.
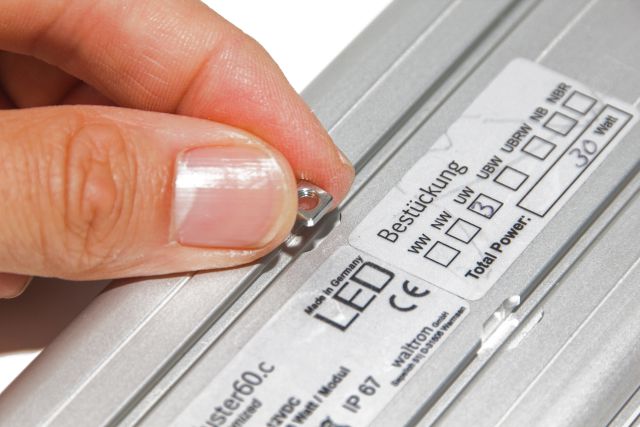
Now insert one nut into each of the openings and slide both nuts in the rails to near the left end of the light bar. They should be level with each other at the left end. To fine-tune the nuts in the rail, a thin object such as a pen or fine aquarium tweezers is suitable.
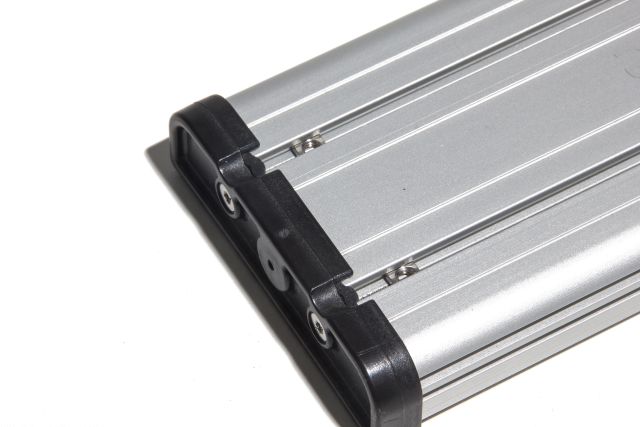
Now hold the screw openings of the mounting adapter over the nuts so that the nuts can be seen exactly beneath the opening. Now insert the knurled screws and tighten them until they grip. In some rare cases, only one of the screws may properly catch the thread. The other screw stays loose, even though screw, opening and nut lie exactly on top of each other. The adapter then holds on the light bar with only one screw.
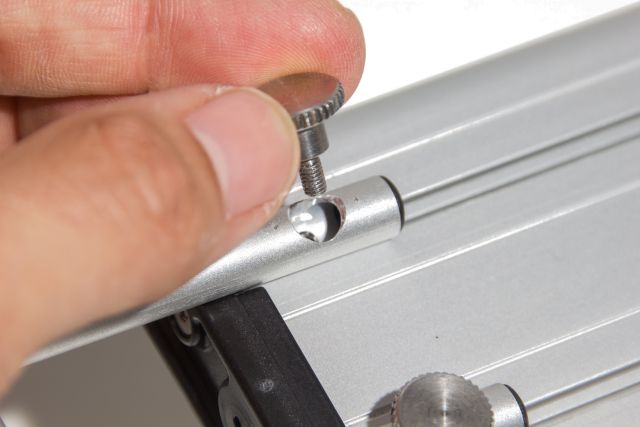
You can fix this problem with a simple trick: turn the whole assembly by 180° so that the LED modules now point upward. Hold the loose screw firmly while doing this and try to prevent the nut from slipping because of the tilt. In this position, the knurled screw can now be fastened.
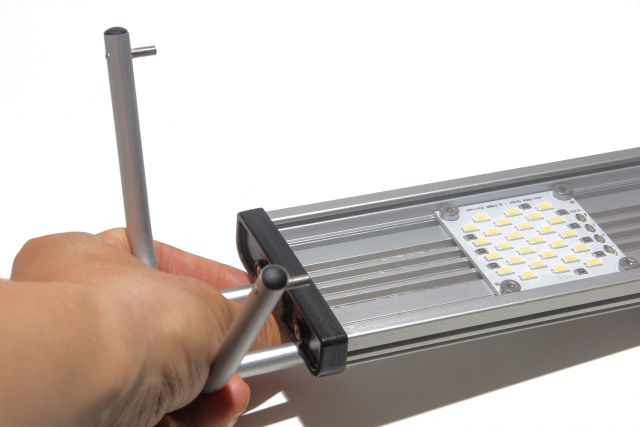
Repeat the entire procedure to fasten the adapter on the right side now.
Now the lamp can be mounted on the aquarium. The adapters can now be slid along the length of the light bar to adjust it to the length of the aquarium. To do this, you loosen the knurled screws only very slightly until the adapter can be moved. Loosening them too far detaches the connection with the nut. Once the final position of an adapter is set, you can tighten the screws firmly.