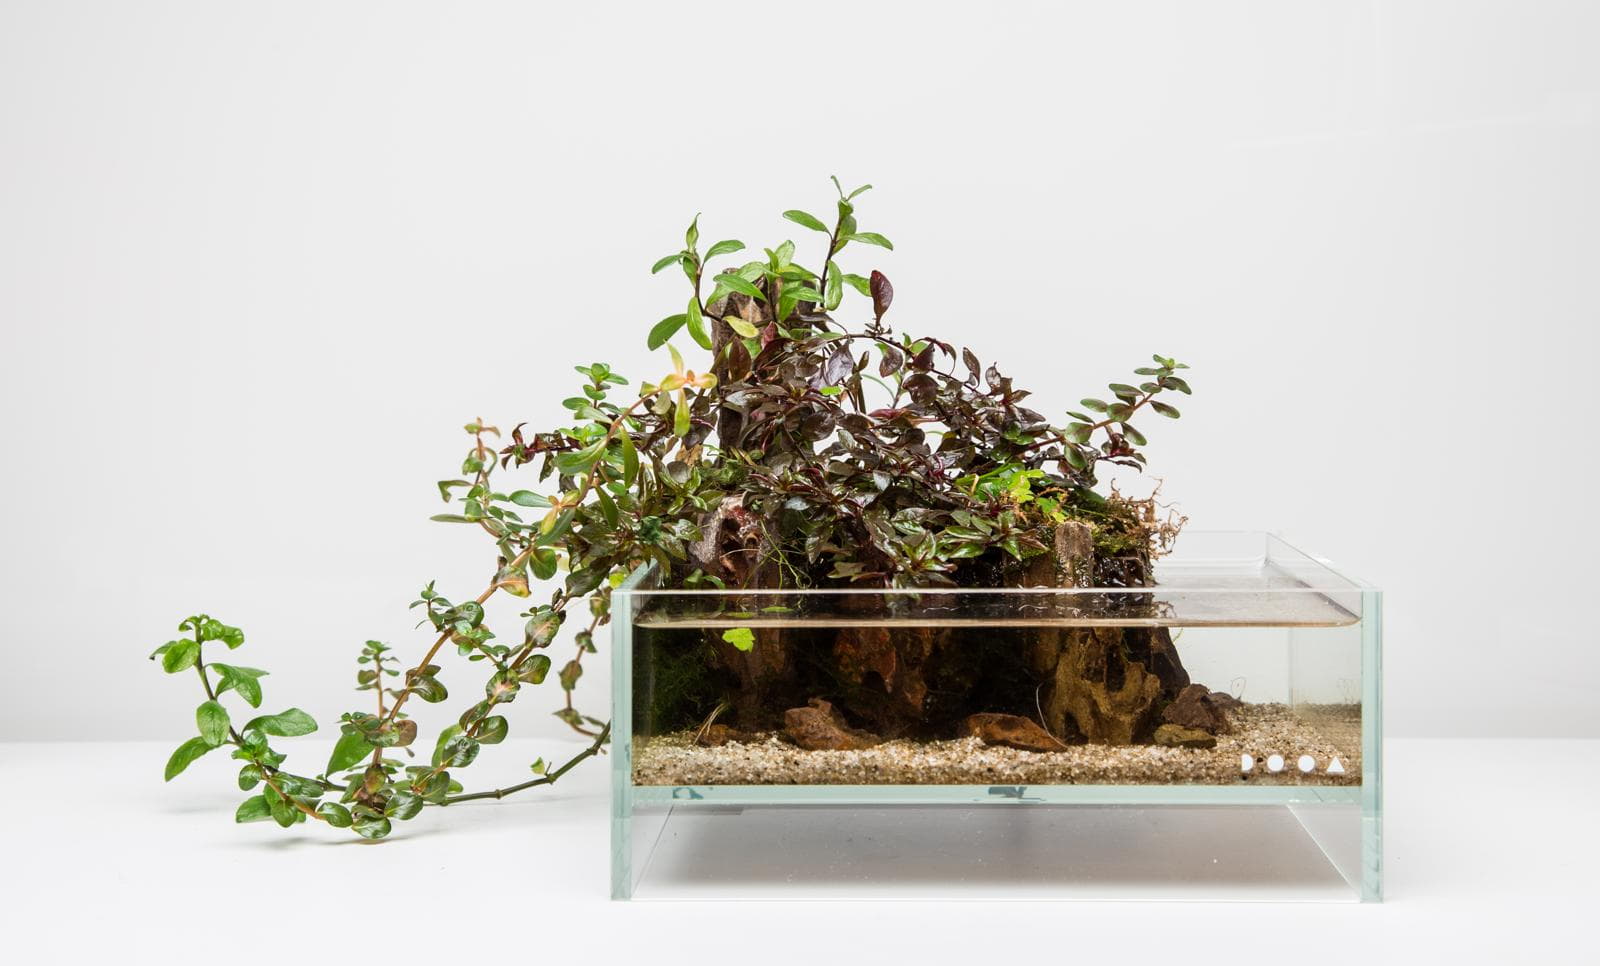
 Mini paludarium in the Neo Glass AIR
Not everything has to be underwater. In this tutorial, we show you a small setup example of a paludarium in a DOOA Neo Glass AIR. It has both a land zone and a water zone and is planted with various aquatic plants. These grow emersed on the land section, and underwater there are a few submersed-growing mosses. But first, let's tackle setting up the paludarium.
Step-by-step paludarium tutorial
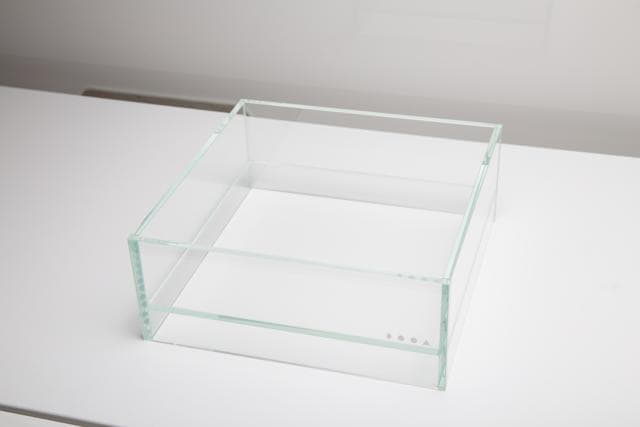
Here you first see the empty Neo Glass AIR. It measures 20 x 20 x 8 cm. It has a nice flat shape made of high-quality low-iron glass. Because of the raised base plate, the layout then looks as if it were floating.
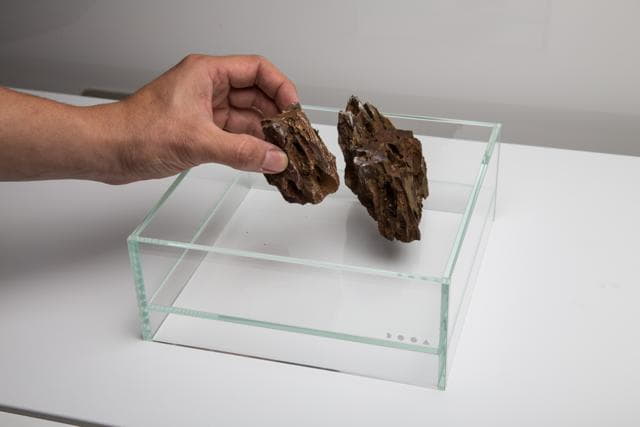
To begin, we first place a few stones that are meant to delimit the land section. These are Ohko Stones, also called dragon stone. A nicely rugged stone that is also water-neutral.
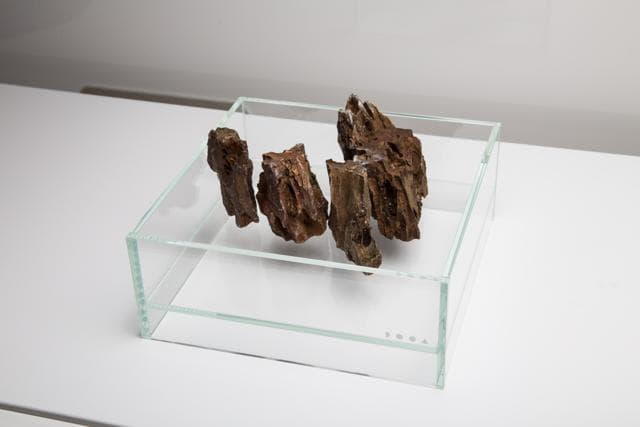
More stones are added to form the border. For a harmonious look, we make sure the grain of the stones always runs in the same direction.
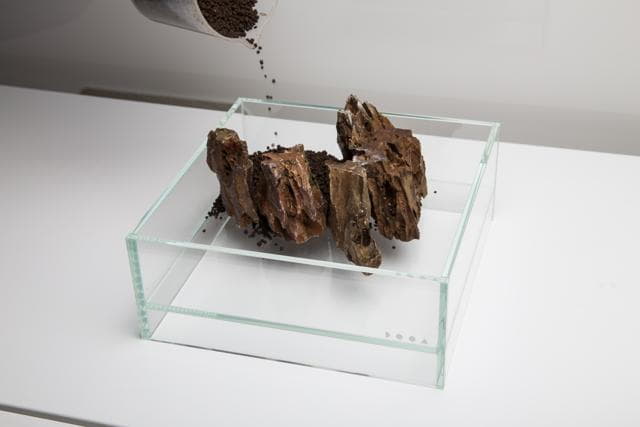
Now the land section is filled with nutrient-rich soil, since most of the plants will be placed here. This ensures optimal nutrition via the substrate.
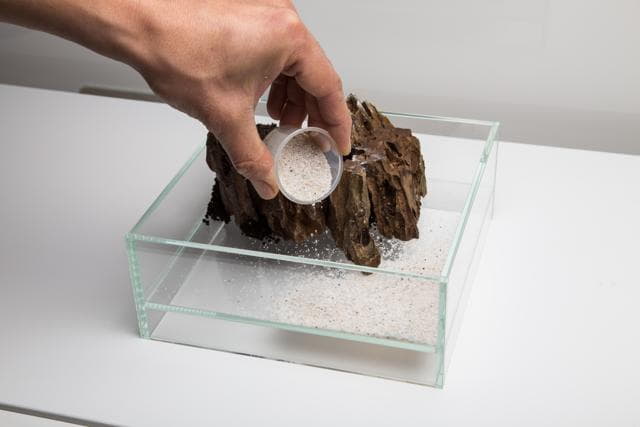
The underwater section gets fine sand as its substrate, in this case JBL Sansibar River Sand. This creates a nice contrast with the upper land section.
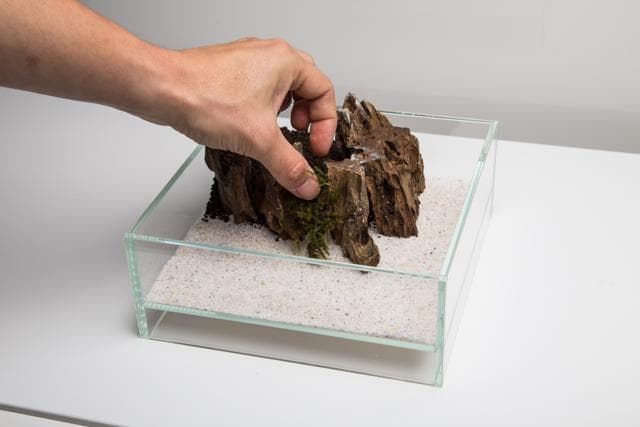
Since there are still openings between the stones, they are now closed by planting Christmas moss. This prevents the two different substrates from mixing too much and the soil substrate from eroding too much.
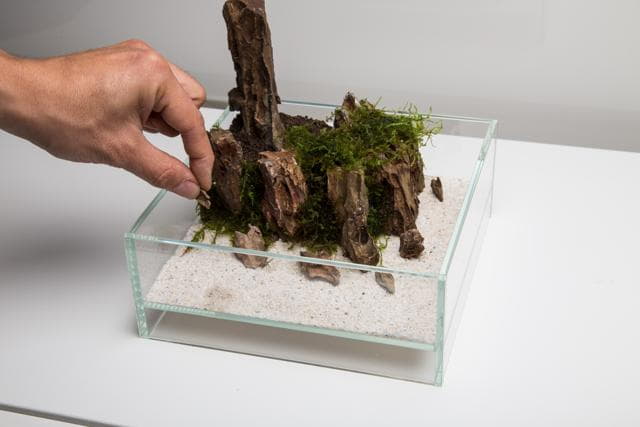
With smaller fragments of the Ohko Stone, we add a few fine details in the foreground. On the land section, a more imposing main stone is used as an eye-catcher, and a little more moss is also added at the top.
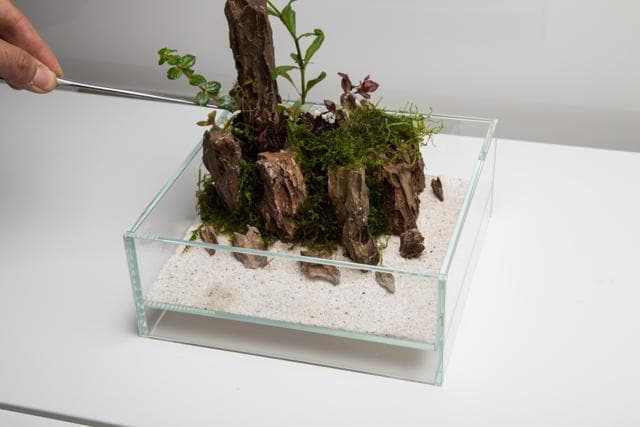
With suitable tweezers, we now plant a few emersed stem plants. In our example, these are Rotala sp. "Colorata", Hygrophila polysperma 'Rosanervig' and Ludwigia palustris "Super Red".
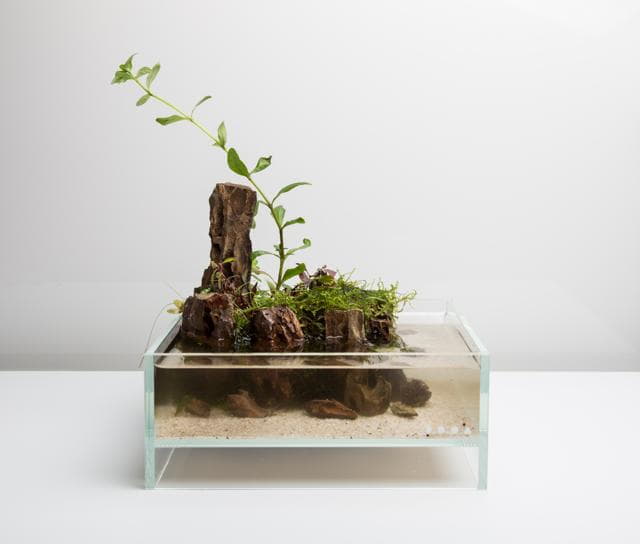
This is what the finished layout looks like at first. Eleocharis sp. 'Mini', Ammannia pedicellata 'Golden' and Hydrocotyle tripartita were added as further plants. The water is still a little cloudy from the setup materials, but this will settle quickly with the next water changes. Furthermore, the paludarium is run without any equipment. To keep up the humidity, though, the layout is first sprayed with water twice a day. Later, the moisture from the underwater section and the corresponding evaporation will be enough to keep the plants from drying out too much.
The development of the paludarium
After a few weeks
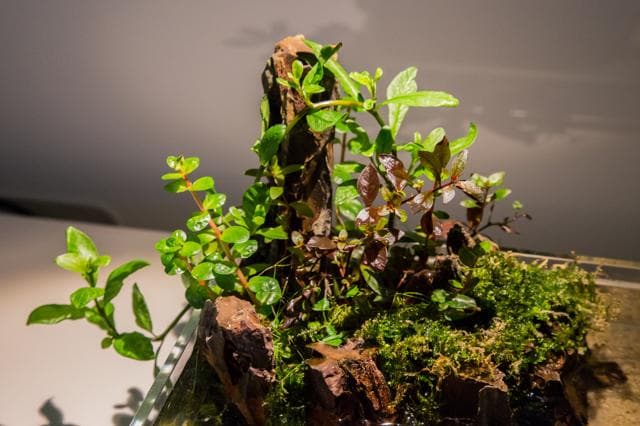
After a short time already, the aquatic plants show very nice, though leisurely, growth. In particular, the stem plants are now spreading out more and stretching nicely toward the light.
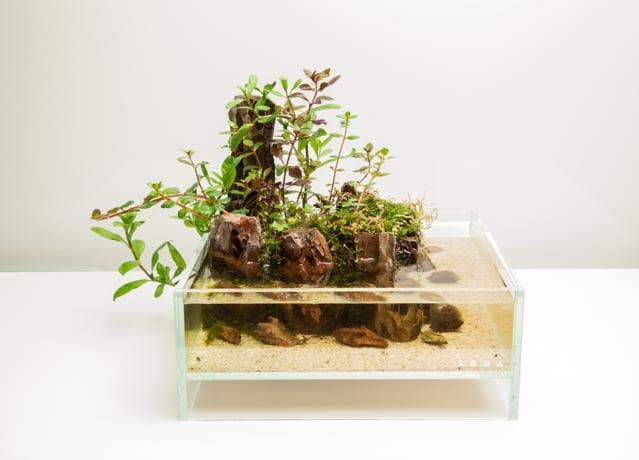
Here, too, you can nicely see that the longer stems are starting to grow in a slightly arched shape.
After about 3 months
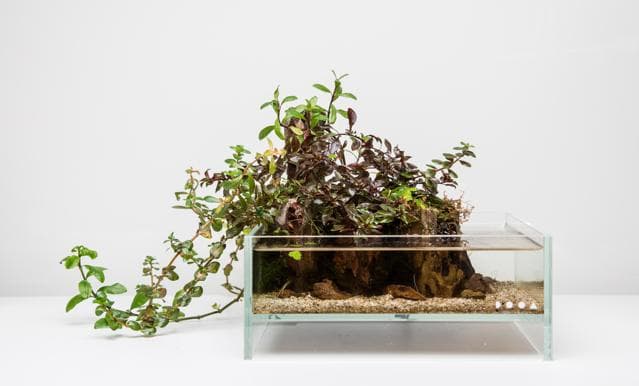
After about 12 weeks, the layout has developed well. The stem plants have grown great and now clearly grow downward in hanging shoots, which gives a fantastic effect. Otherwise, this paludarium has become very easy to care for. Since the plants are well rooted and have adapted optimally to the climatic conditions, the daily spraying is no longer necessary. The plants get enough moisture from the water section. However, the water is changed almost completely every week. Liquid fertilization has not been necessary so far, since the plants have been able to get their nutrients well through the roots and the soil. With an even longer running time, a light liquid fertilization with both micro- and macro-elements can sometimes keep growth healthy and stable.
Aquascaper: Aram Schneider