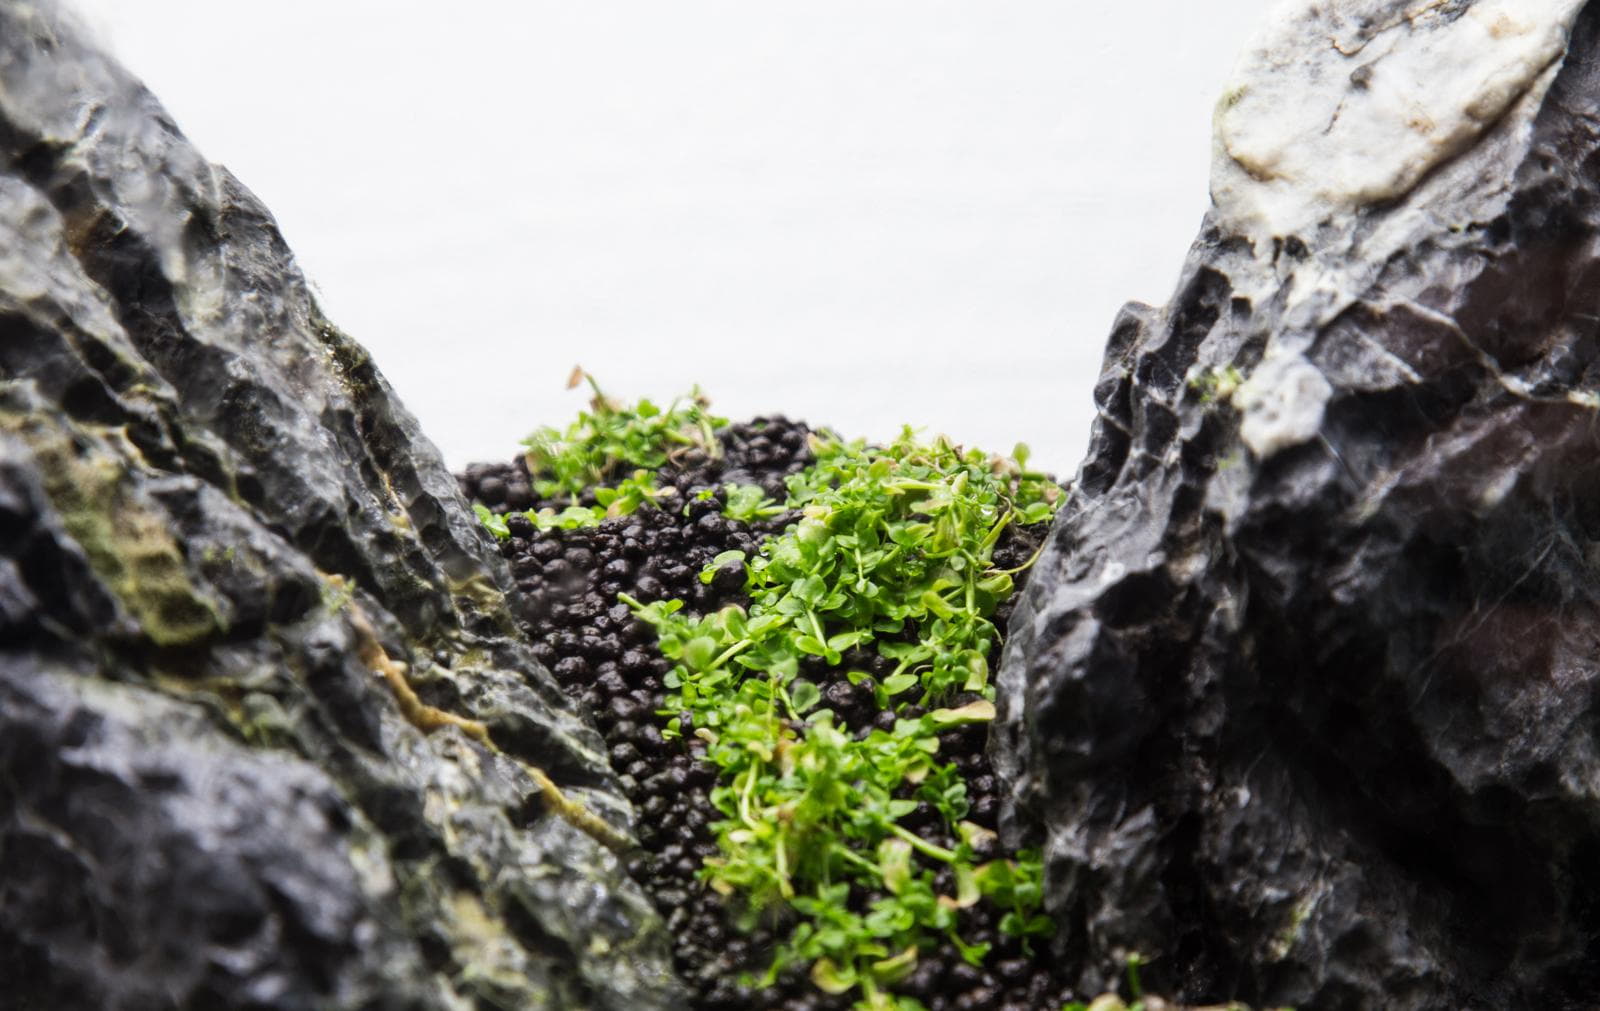
 An Iwagumi in the Mini M
In the following setup example, we would like to present a classic Iwagumi in a small nano aquarium (Mini M) with an edge length of 36 cm. Since stone layouts in the Japanese style are designed to be very clear and purist, only one type of aquatic plant and only one type of stone are used here. In terms of the basic layout shape, it is a central-shape design.
Step-by-step tutorial: Iwagumi in the Mini M
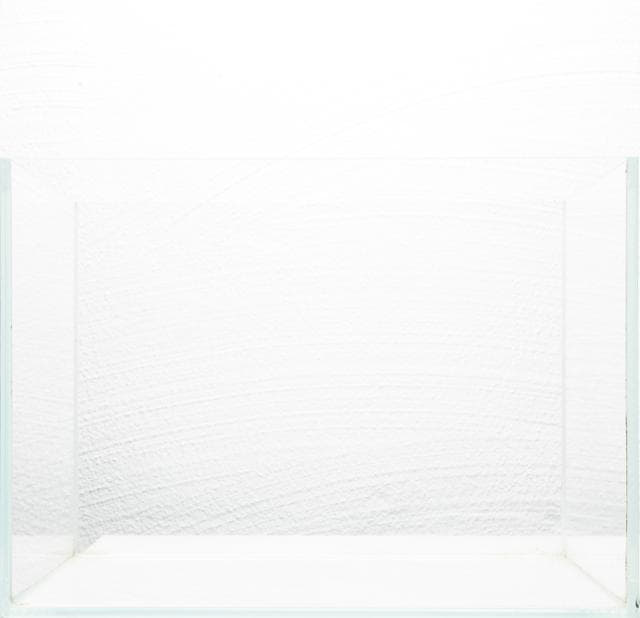
The starting point for this design is the popular nano aquarium Mini M, which measures 36 x 22 x 26 cm.
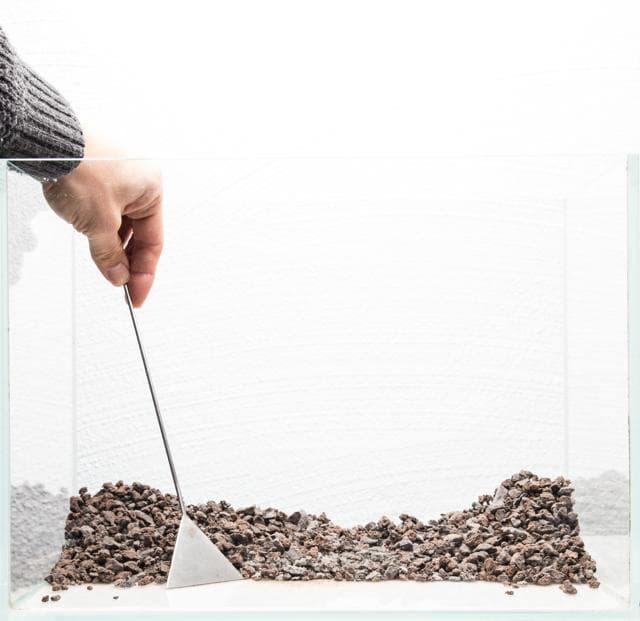
First, we start with the substrate structure. Here, JBL Volcano Mineral is used as the bottom layer.
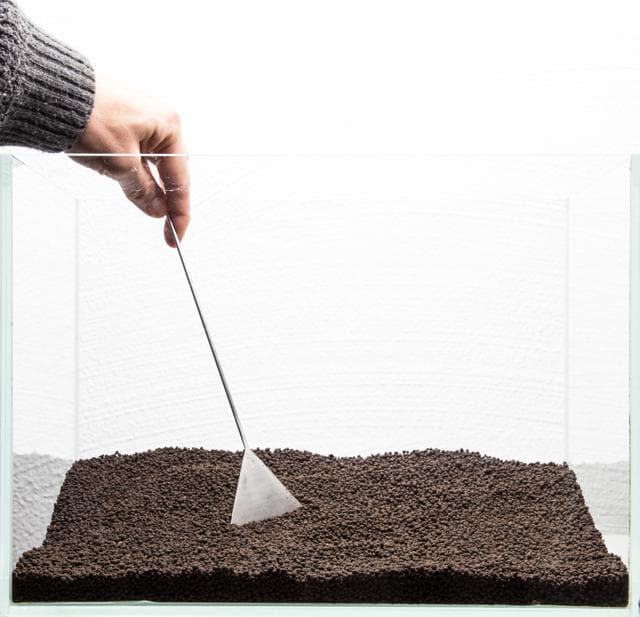
Next, the nutrient-rich top layer of AQUARIO Neo Soil Compact Plant is added and smoothed with a sand flattener. A slight rise toward the back emphasizes the depth effect.
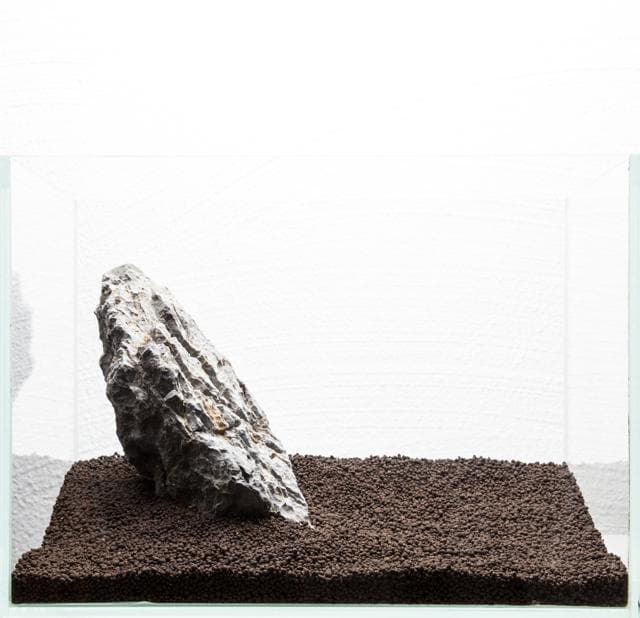
Now we place our mainstone. This is the largest stone in this layout and serves as the eye-catcher of the design. As the type of stone, we use Mini Landscape.
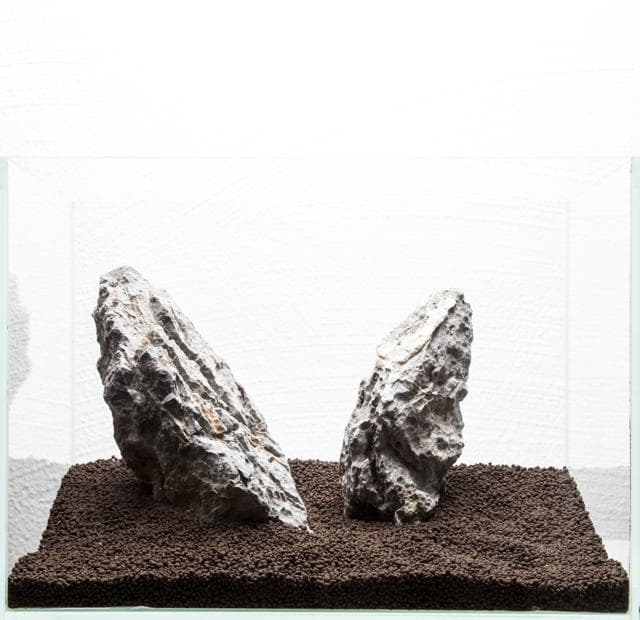
As a counterpart to the mainstone, the second-largest stone is now added. If possible, it should point in a different direction than the main stone.
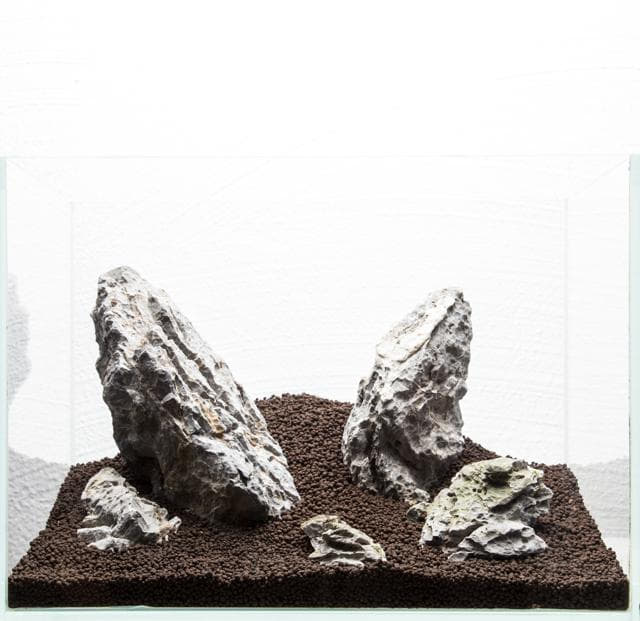
Then progressively smaller stones are added, which complement and support the two large stones. In an Iwagumi, you aim for an odd total number of stones (here: five). Then more soil is poured in to stabilize the stone structure.
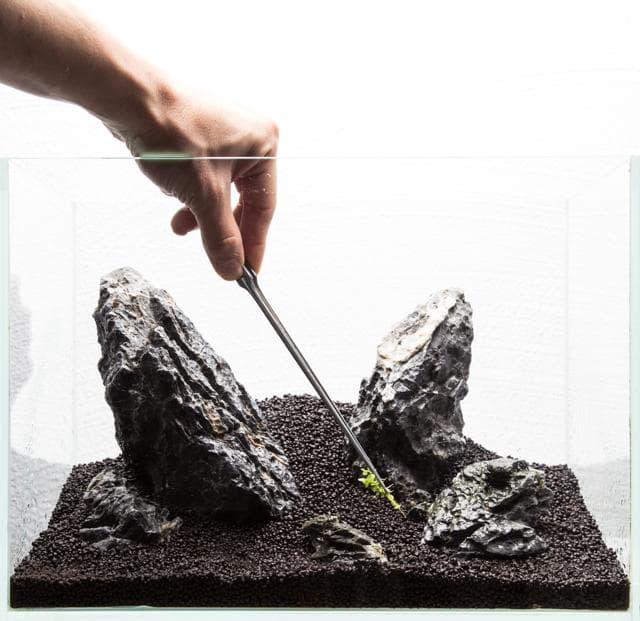
Now comes the planting, for which we use just a single plant species, Micranthemum tweediei. An XXL cup was needed to plant the Mini M. Before and during planting, the aquarium is well moistened with a spray bottle.
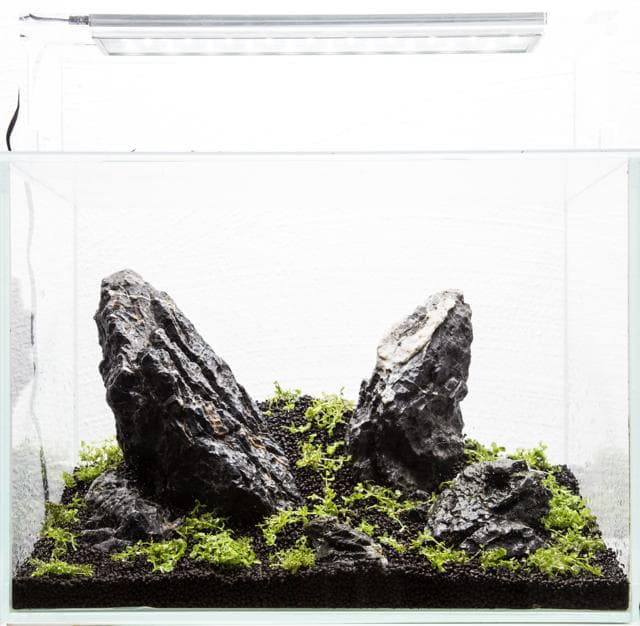
Since we are beginning this aquarium with a dry start, everything is moistened thoroughly once more. Then the glass tank is covered with a plate, and only the lighting is installed as equipment. The plants now continue to grow in their emersed state for the time being.
Care during the dry start
Caring for an aquarium during the dry start phase is incredibly easy. There is actually not much to do. Depending on the setup, it is sometimes necessary to spray the plants with a little water now and then so they do not dry out. This is especially necessary with higher substrate layers in the back area of the aquarium. But this process can also be automated, for example with a rain system or a fogger from terrarium supplies. On the other hand, you then have to be a bit careful that the water level at the front of the aquarium does not get too high. Plants placed there would otherwise begin to switch to submersed growth.
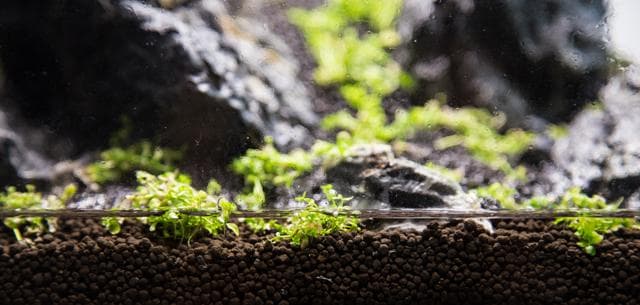
If the water level gets too high here, you should siphon some of it off again, for example with a syringe or a thin airline tubing.
Development after a few weeks
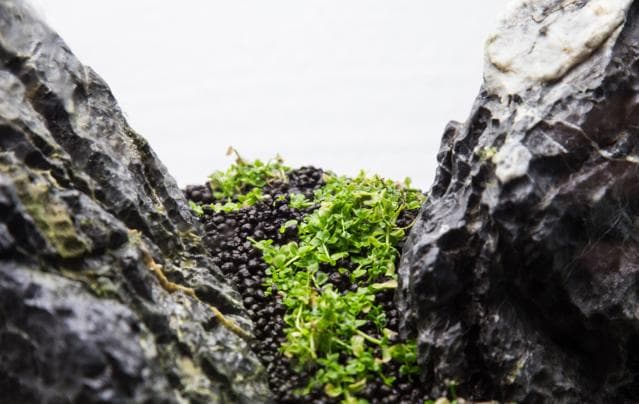
In the beginning, the aquatic plants are still busy with a certain transition and adapt to the respective conditions in the aquarium. Once this step is complete, growth begins. Here you can already see very nicely how the ground cover spreads across the surface via runners.
Update after 2 months
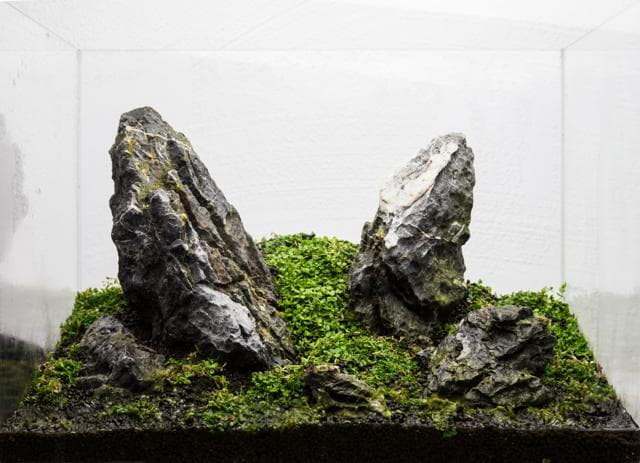
After about 8 weeks of running time, the dry start has developed well. The plants have formed an almost dense carpet, especially in the back area. In shady zones and in the front area, the plants have not yet been able to spread as well. Even though the layout has been extremely low-maintenance so far, a few minor problems are visible here too, which even a dry start cannot avoid: the water level is highest at the front glass. Over time, some algae coating has developed here, but it is very easy to remove. The plants also do not grow as well here, because due to the water level they tend toward an already submersed development and therefore do not cope optimally with the conditions there. By and large, though, the growth process is very satisfactory and the aquarium can be flooded.
The aquarium is flooded
After a few more weeks, growth accelerated significantly once again and the aquarium was filled with water. The plants right at the front glass were still somewhat problematic, which, however, is due to the water level during the dry start and the constant switching between emersed and submersed. Now that the aquascape is run completely filled with water, the plants in this zone can spread better from here on.
Interestingly, a few moss shoots have developed, especially on the stones, which are basically undesirable in this purist layout. We will have to wait and see whether the mosses continue to develop underwater.
For aquarium equipment, a tried-and-tested ADA Aquasky is used. Because of the rather strong light, we light this aquarium for only four hours a day for now. The filter is an Oase FiltoSmart 60, fitted with Aqua Rebell Lily Pipes in 10 mm. A refillable CO2 system supplies the aquatic plants with the necessary carbon via an AQUARIO Neo Diffuser. The CO2 level is monitored with a hang-on drop checker. A tiny heater from Aqualighter could be hidden discreetly behind the mainstone and ensures a constant water temperature.
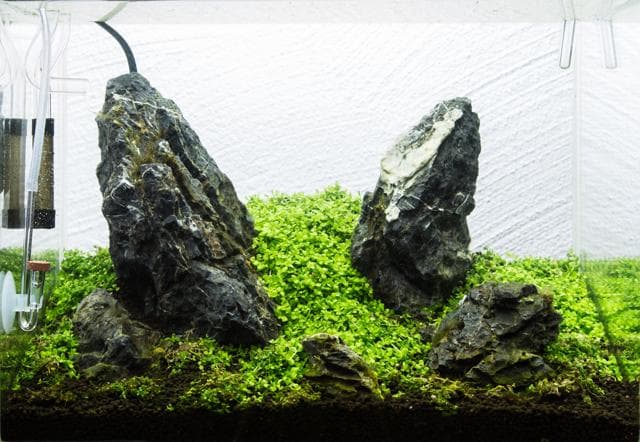
As with many aquariums equipped with nutrient-rich soil substrates, in the Mini M too a fairly frequent water change is recommended for the first few weeks, every few days with a 50% fresh water exchange. From here on, the aquarium's cycling phase begins, which will hopefully be easier and shorter thanks to the dry start and the plant mass that has already taken hold.
The development
After 2 weeks
Around two to three weeks after flooding the aquarium, the start went quite smoothly. As expected, the cycling phase was rather short, so we were able to start stocking fairly quickly with invertebrates such as racing snails and dwarf shrimp. They keep the emerging algae coatings in check and now bring the aquarium to life with busy scurrying and great color contrasts. At this point, the nutrients released by the substrate were entirely sufficient. The water change was also switched to a weekly rhythm.
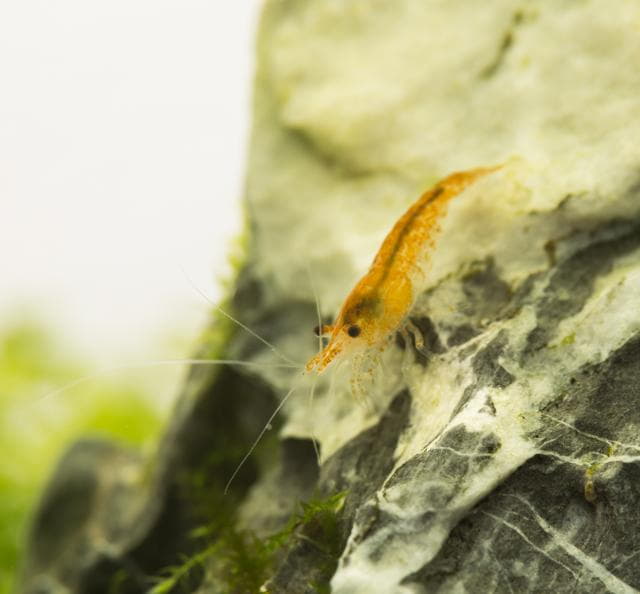
Micranthemum tweediei needed only a very short adjustment period and accelerated its growth very noticeably once again. The plants are already about 3 cm long and some shoots are also growing upward, so the first trimming of the ground cover is coming up soon.
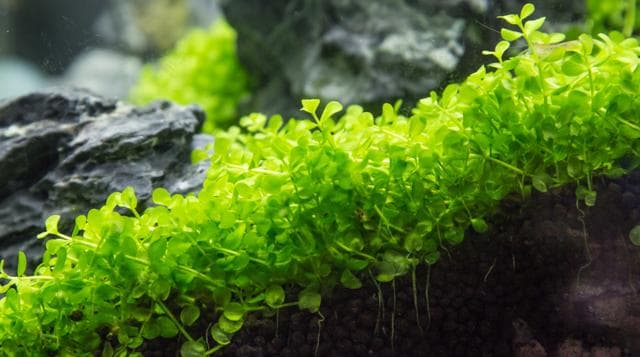
After 4 weeks
About one month after flooding the aquarium, you can see very clearly by comparison how well the ground cover has spread. The somewhat unhealthy-looking shoots that were originally present in the front area have also recovered splendidly. The moss on the stones was actually a bank moss that was still attached, which was now also sprouting busily. For design reasons (after all, an Iwagumi is rather purist), the moss shoots were therefore removed bit by bit. Liquid fertilization was still not necessary, since enough nutrients were still being released from the soil.
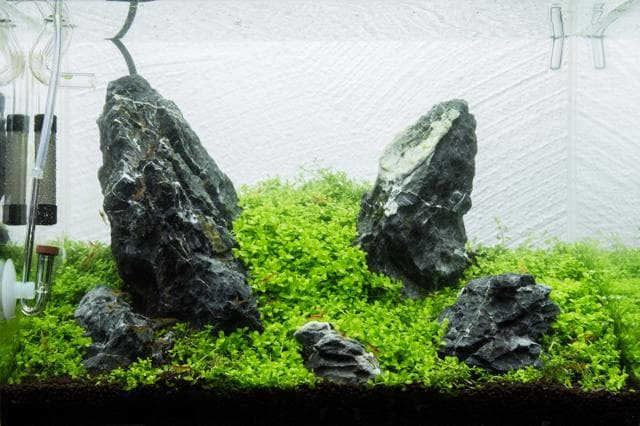
Final shot after 10 weeks
At an age of almost 3 months, this layout could now be captured in a final shot with a nice photo. By now, plant nutrition is supported by minimal liquid fertilization, in this case with a little GH Boost N for nitrogen and a little Mikro Basic Eisen for iron and trace elements. Through repeated trimming, the ground cover was brought into shape, and it continues to grow healthy and in strong colors. All in all, this is a very low-maintenance layout if the lighting is kept correspondingly low.
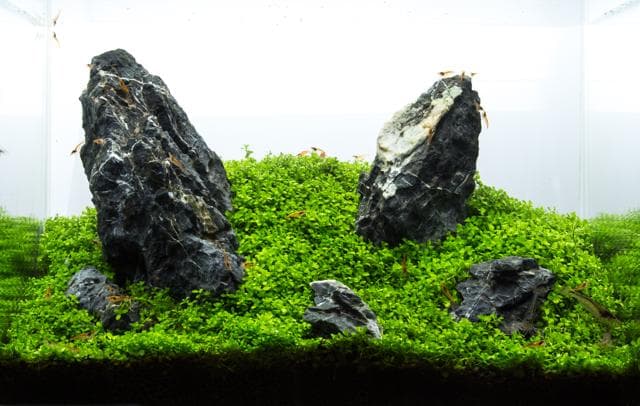
Aquascaper: Aram Schneider