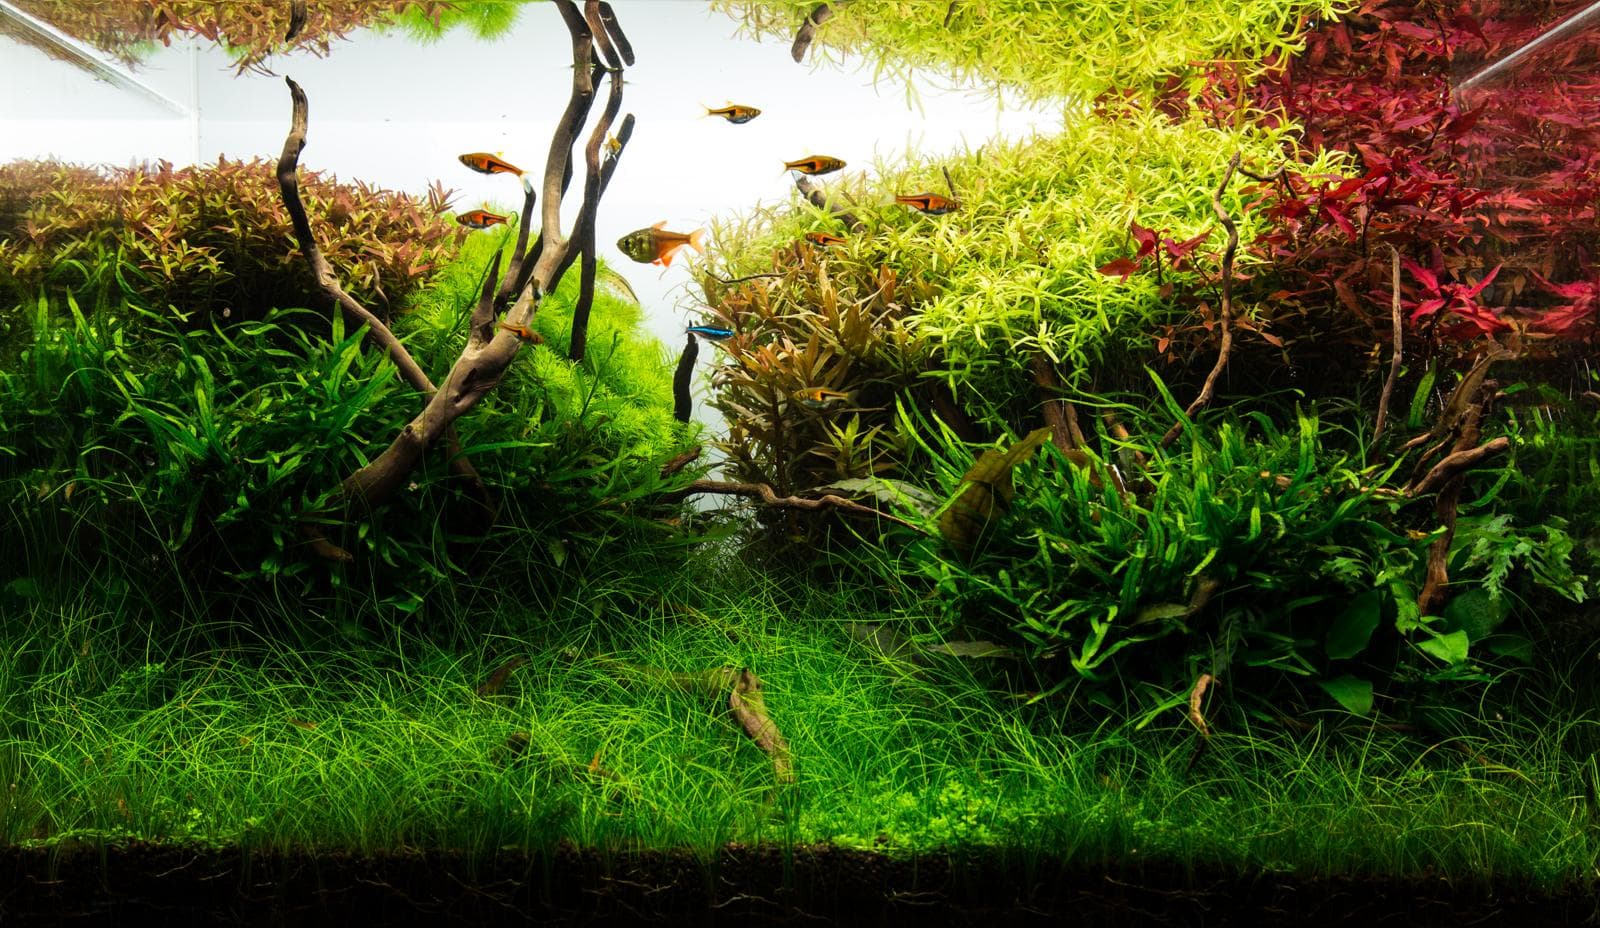
 Aquarium Layout with Driftwood 60 cm
In this setup example for an aquarium with an edge length of 60 cm, we would like to present a design with driftwood. In Nature Aquarium circles, this style is called "Ryoboku", a Japanese term that refers to driftwood. The basic layout shape of this design is the so-called U-shape, with a free lane in the left third. We will now go into the setup of this aquarium in more detail and step by step.
Step-by-step tutorial: Ryoboku 60 cm
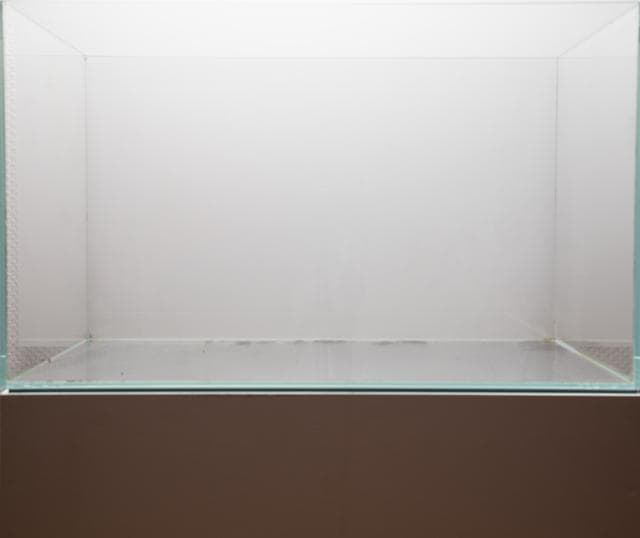
The starting point for this aquascape is a tank with an edge length of 60 cm and a height of 36 cm, which can therefore be implemented very well in the popular aquarium size 60-P from the manufacturer ADA.
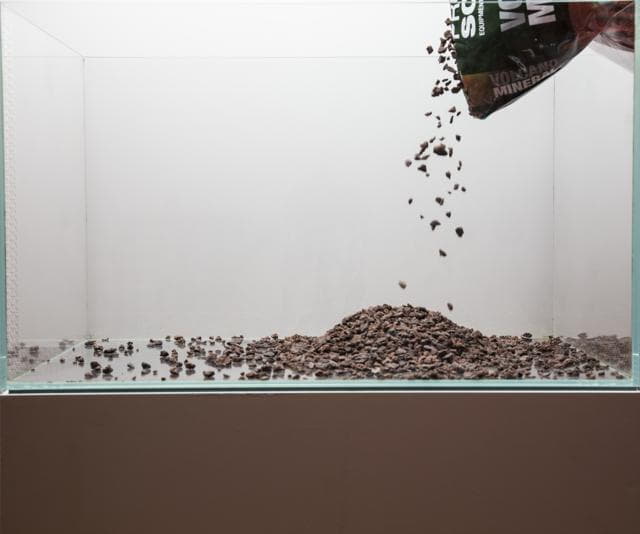
First, the bottom layer of the substrate system is added. This is JBL Volcano Mineral, a porous lava substrate that promotes flow-through of the lower substrate layers and provides a large colonization surface for beneficial bacteria.
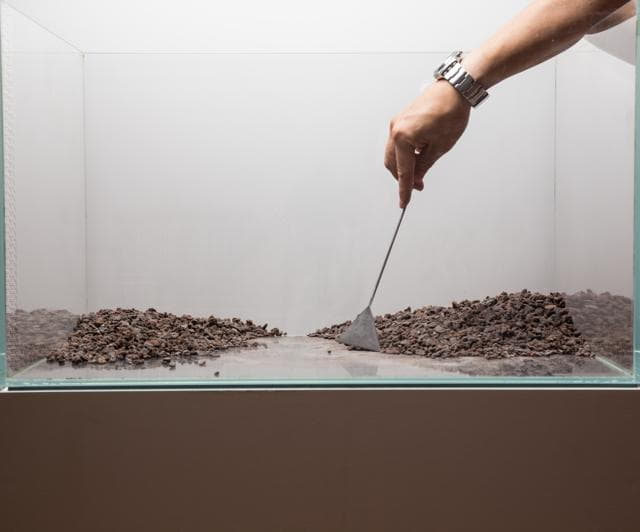
With a sand flattener, two small side mounds are piled up in line with the basic design of a U-shape. The front area stays free.
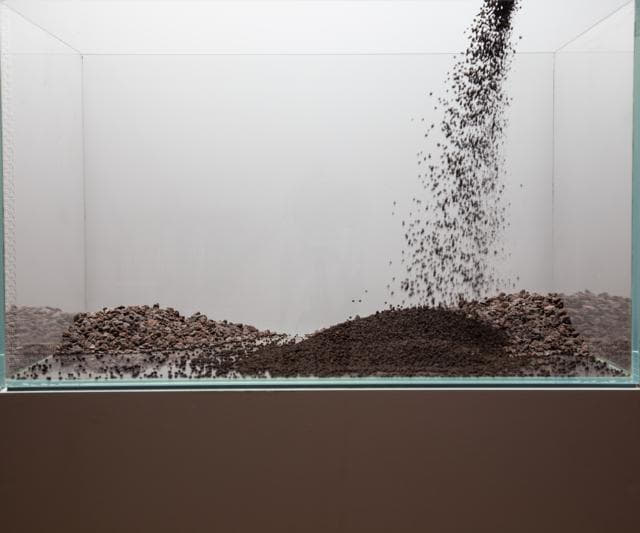
Next, the top layer is added using AQUARIO Neo Soil Compact Plant. This soil is rich in nutrients and actively influences the water parameters so that soft and acidic water results. This is preferred by many aquatic plants, ornamental fish and invertebrates.
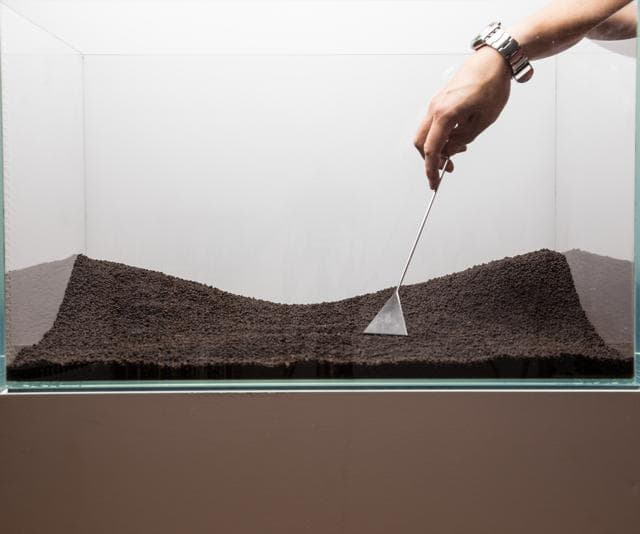
Here too, using the sand flattener helps to shape the mounds on both sides. The soil is spread over the entire bottom surface with a layer thickness of at least approx. 4 cm.
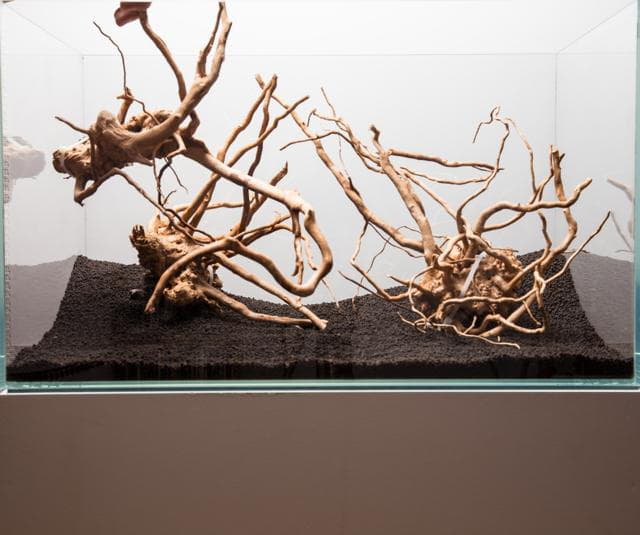
Now the driftwood is added, in this case three pieces of red bogwood, anchored with cable ties to dragon stones. The attached stones reduce the buoyancy of the wood. Then a little more soil is poured in to stabilize the whole structure better.
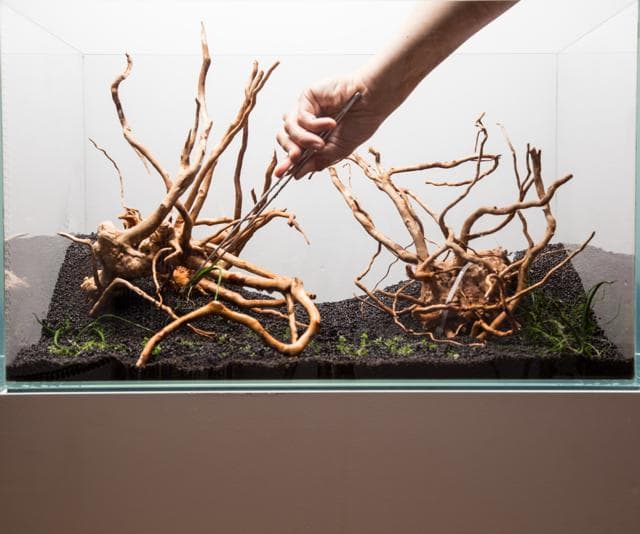
Now the planting begins. First, the entire setup is given enough moisture with a spray bottle. Then we begin planting the ground cover, in this case Hemianthus callitrichoides "Cuba" and Eleocharis sp. 'Mini'.
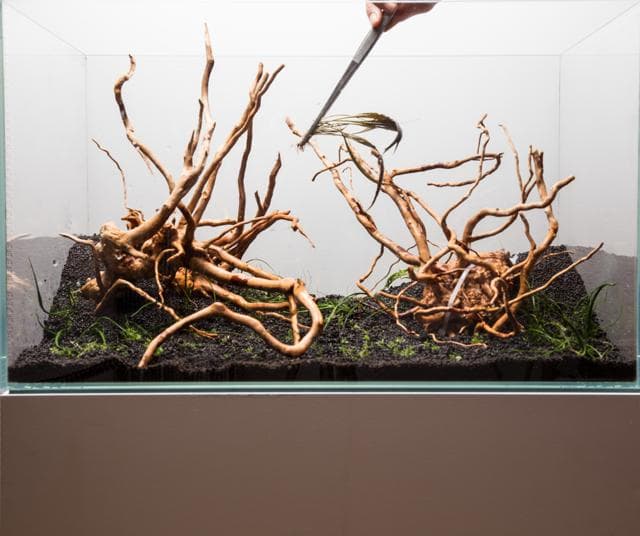
In strategically important spots (soil slopes with a lot of gradient between the driftwood), we place various medium-sized cryptocorynes. With their long roots, these stabilize the substrate structure over time.
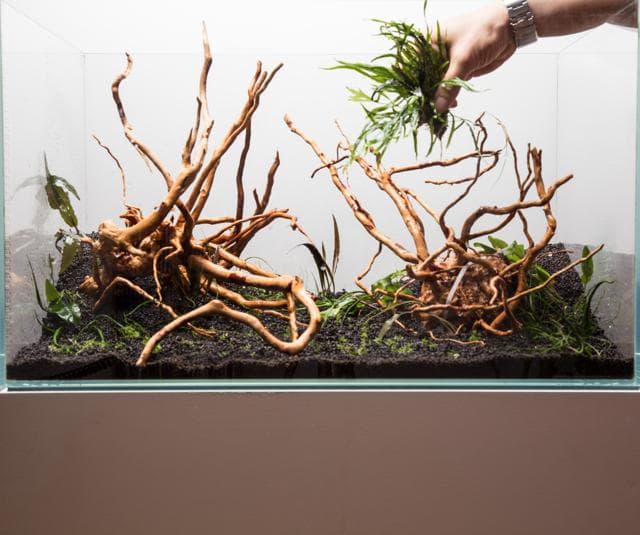
The driftwood is fitted with various epiphytes, such as Bolbitis heudelotii, Java fern 'Trident', anubias and some Bucephalandra. These are simply wedged into suitable crevices between the driftwood.
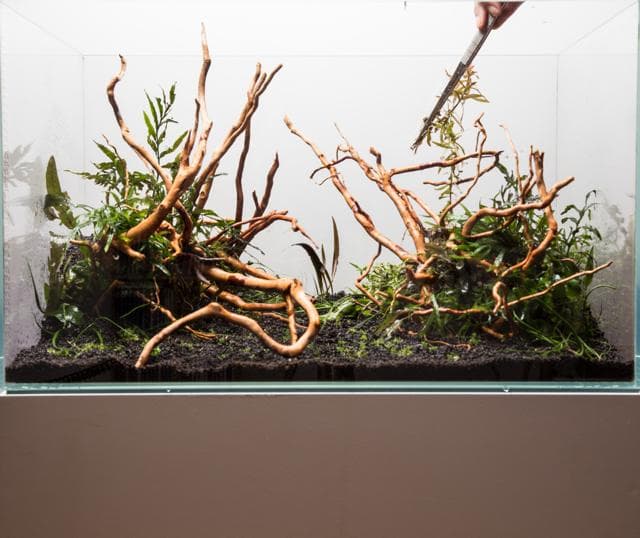
In the background, in keeping with a Nature Aquarium, various stem plants are used, here Rotala colorata, Rotala sp. "Wayanad", Myriophyllum sp. "Guyana", Ammannia pedicellata 'Golden' and Ludwigia palustris "Super Red".
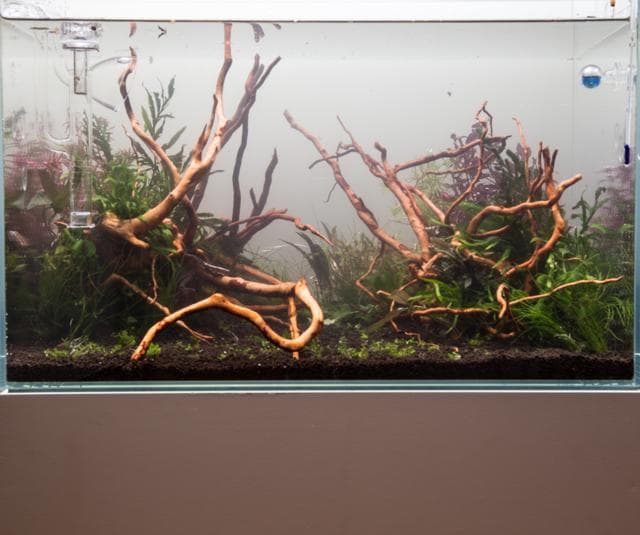
The planting is completely finished, and the aquarium is now filled and the equipment connected. Filtration is by a JBL e702 external filter, which is additionally equipped with transparent tubing and matching glassware (inflow: Aqua Rebell Glass Skimmer Small 13 mm, outflow: Cal Aqua Labs Efflux F2 13 mm). Since the driftwood can turn the water brown in the beginning, there is also a bag of Purigen in the filter, which removes the dyes as well as organic waste.
Of course, the aquarium is also equipped with a refillable CO2 system. The diffuser is a JBL direct inline diffuser, which is integrated into the tubing run of the external filter. As a result, no distracting equipment is visible in the aquarium. An external heater is also used for temperature control. The equipment is rounded off by a glass thermometer and a CO2 drop checker.
For lighting this aquarium, a Twinstar Light II S with acrylic feet is used.
The development
Weeks 1 and 2
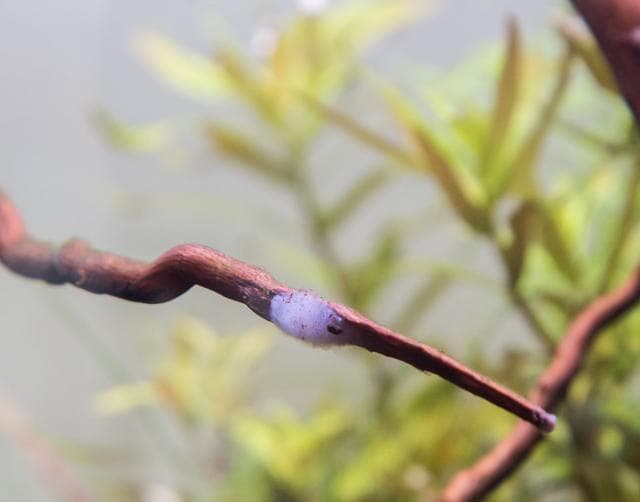
In the first two weeks, a typical bacterial film formed on the driftwood. These whitish, slimy coatings or pads look unsightly but are completely harmless. After the first invertebrate algae eaters such as snails and shrimp are added, they gradually eat the driftwood slime. You can find more information on this here.
Since the aquatic plants used were for the most part already submersed, growth was correspondingly fast. After two weeks, the first stems had already reached the water surface, so that the first trimming was due in no time.
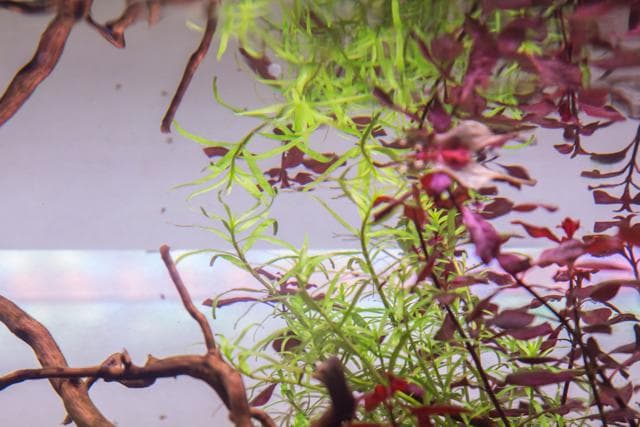
Since the soil still releases quite a lot of nutrients at this early stage, it is advisable to carry out more frequent water changes (daily or every few days) during this time. During this period, the plants are supplied very well with all important nutrients via the substrate, so additional liquid fertilization is not necessary for now.
Week 3
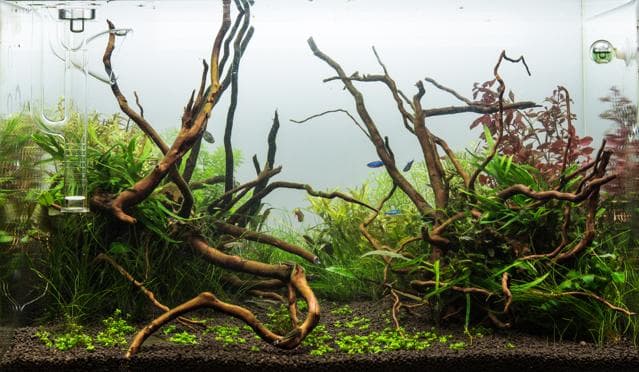
From the third week on, experience shows that the first formation of green algae begins in the cycling phase of an aquarium. In this setup example, short green fuzzy algae appeared during this period and settled on plants and decoration. These algae can be expected to be pushed back as soon as the plant mass has developed further.
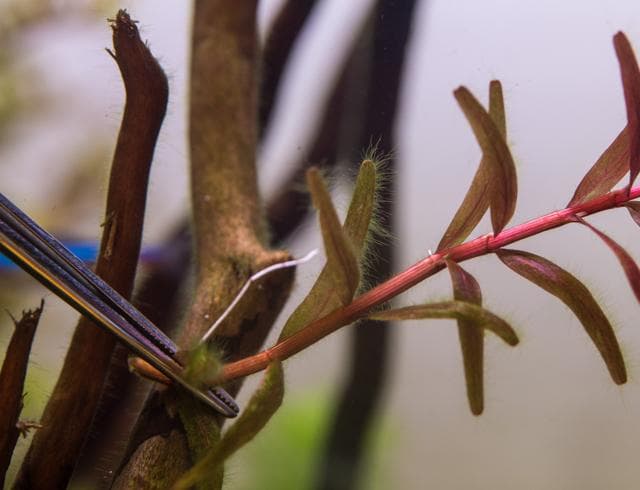
Since the stem plants in particular have grown well, a trimming is now due. Some top cuttings were replanted to cover even more area with plants. Here you can see the aquarium after three weeks, before and after the trimming and a first cleanup. The water parameters now also allowed the first fish stocking to move in.
Week 4
After about one month of running time, the stocking in the aquarium is increased further. The soil no longer releases nutrients into the water as drastically, so from now on only weekly water changes are carried out. To support the plants in their growth, a light liquid fertilization now begins with Aqua Rebell Mikro Basic Eisen, Makro Basic NPK and GH Boost N.
Week 12
After about 3 months, the aquarium now runs very stably and is almost free of algae. The plants have developed splendidly and have already been trimmed several times. This shows in a much denser and bushier growth. The ground cover Eleocharis sp. 'Mini' has also spread very well in the foreground.
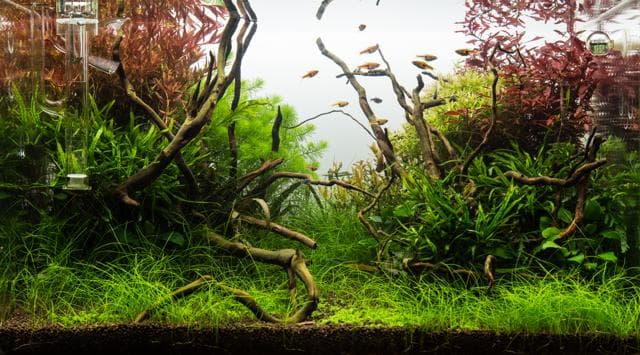
With so much plant mass, the liquid fertilization should also be adjusted and increased gradually. In particular, the nitrogen demand of the aquarium plants kept climbing, so the dosing of GH Boost N has to be increased significantly.
Week 16
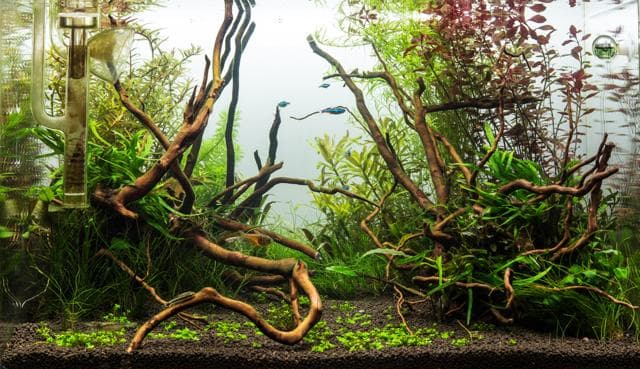
After about 4 months and numerous plant trimmings, this aquarium is now at its peak, which is now captured in a "final shot".
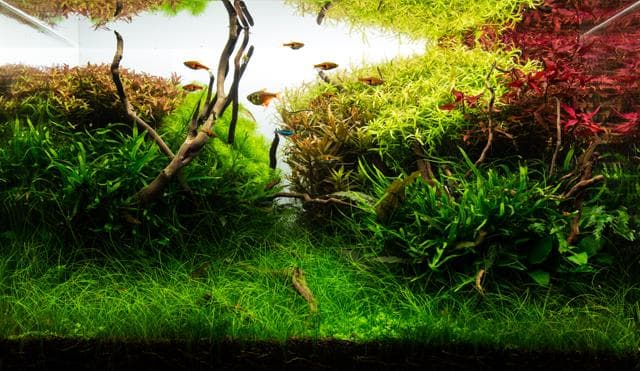
The stem plants at the back now show an extremely bushy growth and look very compact and full. At this stage you can also clearly see how much of the hardscape is now covered by the plants. Of course, this layout can also be maintained for many more months after the "final shot". But now was simply a perfect moment for a nice photo. The aquarium now runs extremely stably, and the inhabitants and plants are in the best of health.
Aquascaper: Aram Schneider