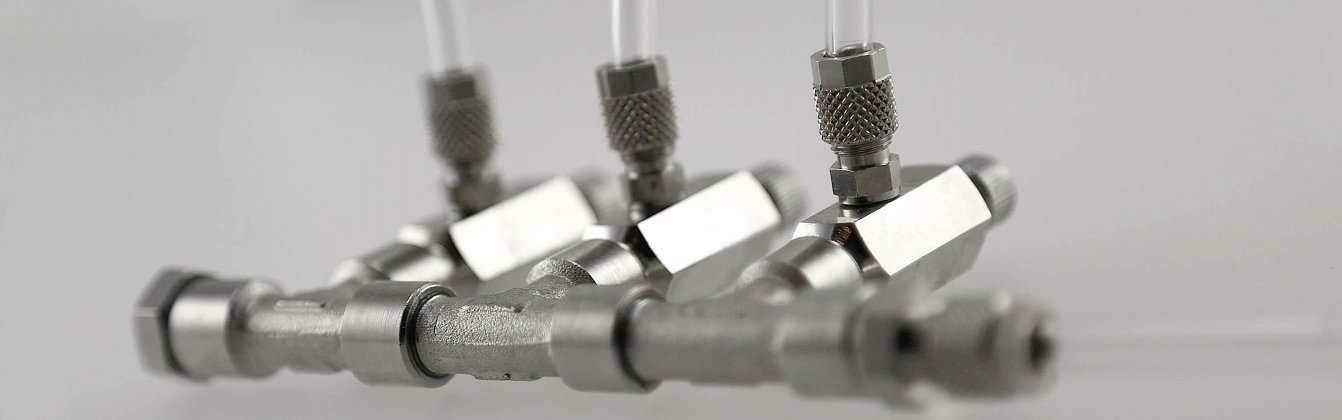
 CO2 distributor
Do you have several planted aquariums and don't want to install a separate CO2 system for each tank? No problem, supplying several aquariums from just one CO2 cylinder is easy to do with a distributor. In this article, we explain what you need to keep in mind.
What is a CO2 distributor?
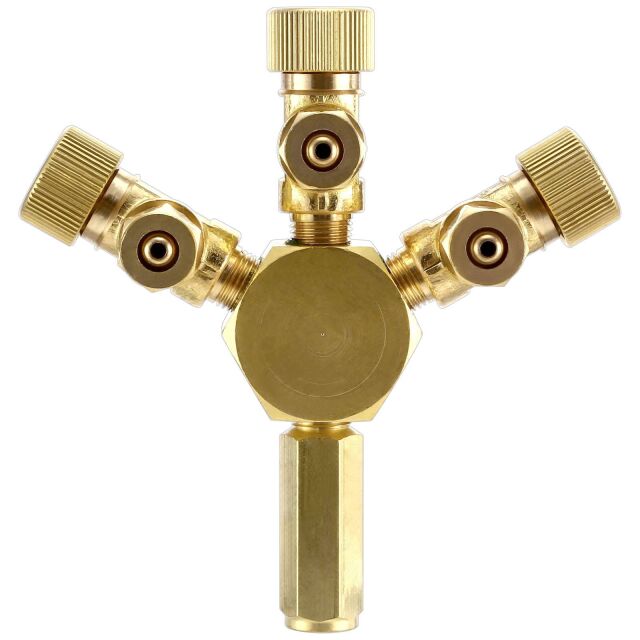
A CO2 distributor is also called a splitter. It consists, so to speak, of a group of several needle valves that share a single common inlet. This inlet is connected to the CO2 cylinder (refillable or disposable) via the pressure reducer. Each needle valve in the splitter can be adjusted independently of the others and has its own outlet. Via each separate outlet, a CO2 diffuser in the respective aquarium is supplied with carbon dioxide by tubing. With the help of a CO2 distributor, you can therefore supply several aquariums with this important plant nutrient in gas form using just one CO2 system.
CO2 distributors come in different versions, mostly as 2-way, 3-way or 4-way splitters. An existing distributor can also be expanded individually with an extension.
Requirements for operating a CO2 splitter
If you want to supply different aquariums with carbon dioxide using a distributor, the local conditions first have to be right. That is: the aquariums to be supplied should stand as close together as possible, because tubing runs from the CO2 system to the respective locations still have to be laid. These runs should be kept as short as possible to keep the pressure loss along the way as low as possible. In such a case, it is also especially advisable to avoid soft CO2 silicone tubing for longer runs and to use pressure-resistant, sturdy tubing instead, to keep CO2 loss as low as possible.
The CO2 distributor is generally designed for operation on a CO2 system with common disposable and refillable cylinders, on which a standard pressure reducer does its job. Both the working pressure and the cylinder pressure can be set freely via the pressure reducer. A pressure reducer is necessary so that the splitter is supplied properly and can work.
Installing the CO2 distributor
For any installation work, the CO2 system must first be deactivated by turning the CO2 cylinder firmly shut or by disconnecting the system completely from the gas cylinder.
The CO2 splitter is installed at the outlet of the pressure reducer of the CO2 system. Depending on the splitter's design, this can be done by screwing it directly onto the pressure reducer itself, or by installing it in the tubing run.
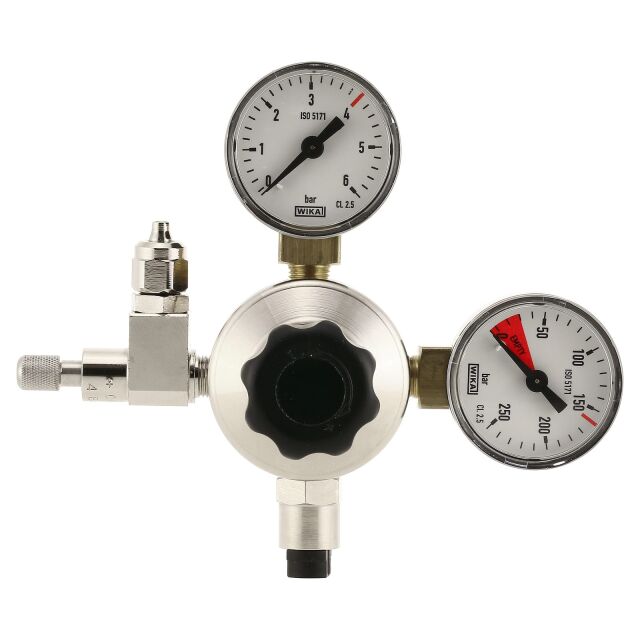
In our picture, the outlet on the pressure reducer is still blocked by a single needle valve. This has to be removed first. If the needle valve is screwed directly onto the pressure reducer, you can open the connection with a suitable open-end wrench.
Note: On some pressure reducers, the components are additionally glued together. In this case, unfortunately, disassembly is not possible. Check the product description to see whether the needle valve on your pressure reducer is glued to the other components.
If the needle valve is to be connected to the CO2 system via tubing, disassembly is much easier, since you only need to unscrew the corresponding fittings by hand to release the tubing connection. Below, we go into both mounting options in more detail.
Screwing directly onto the pressure reducer
Once you have removed the existing needle valve, you can now attach the splitter to the pressure reducer. Most splitters can be screwed directly onto the pressure reducer. For this you need a suitable open-end wrench. Sometimes a double nipple adapter is also necessary here if it is not included with the splitter. You have to pay attention to the right thread here. To keep this connection from leaking, you should use suitable plumbing sealing tape and/or a suitable sealing ring when screwing it together.
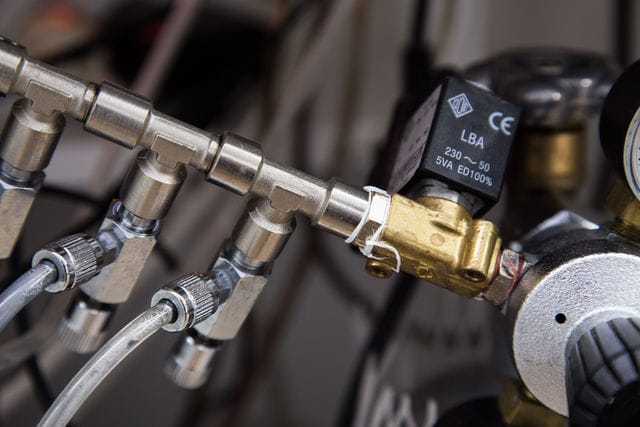
You can then use CO2 tubing to connect the diffusers of all those aquariums that your CO2 cylinder is meant to supply with carbon dioxide to one needle valve each on the distributor. For safety reasons, there should be a check valve in every tubing connection.
Integrating it into the tubing run (inline method)
Mounting the splitter via a tubing connection is quite simple, since no tools are necessarily required. Depending on the model, however, you need a suitable adapter that converts the distributor's usual 1/8 inch connection into a tubing connection.
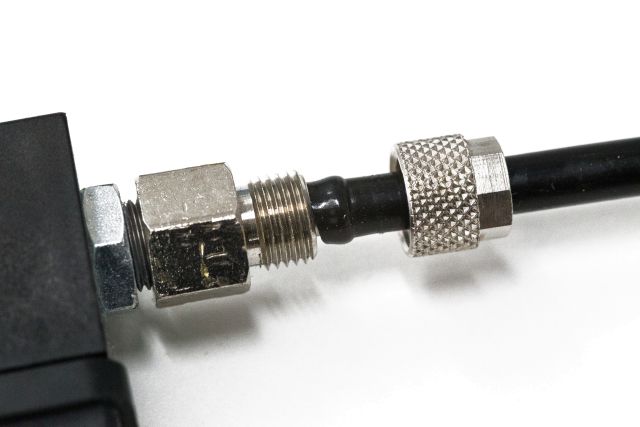
To make sure everything is properly tight, you should use a suitable sealing ring and/or Teflon sealing tape. A pressure-resistant, sturdy tubing is used for the connection from the pressure reducer to the splitter. This special tubing also helps prevent kinks in the tubing run. The tubing connection should be long enough so that the CO2 distributor does not dangle in the air from the tubing but can be placed on the floor if possible. That way, no tensile load is put on the tubing.
Next, all the diffusers intended for the various aquariums are likewise connected with CO2 tubing to one needle valve each on the distributor. For safety reasons, there should be a check valve in every tubing connection.
Commissioning and operating the CO2 splitter
Once all components are connected, the system can be put back into operation. First, all needle valves on the distributor are closed. Then you open the CO2 cylinder again. A short leak test follows: no audible hissing should be noticeable. Checking all connections with leak detection spray is also a sensible measure.
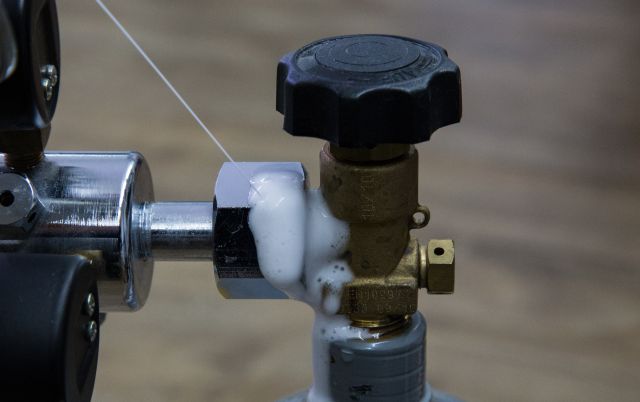
If all connections are tight, you can now open the needle valves on the splitter to set the CO2 supply of the aquariums connected to it. Conveniently, you can set the CO2 supply for each aquarium individually at its own needle valve. The amount of CO2 is normally given as a specific number of bubbles per minute or per second. When setting the CO2 concentration, please keep in mind that both the dosing device (especially diffusers) and the CO2 drop checker react to a change at the needle valve with a delay of several hours.
Special considerations when setting the working pressure with a CO2 distributor
While the splitter lets you control the CO2 supply at each needle valve individually, the working pressure set at the pressure reducer applies to all diffusers controlled via the distributor. Certain divergences can certainly occur here, for example if extremely different aquarium sizes are supplied with carbon dioxide via the splitter. Different diffusers that need different working pressures can also cause problems with the CO2 supply at times. If the working pressure is set rather low, for example, CO2 injection at aquarium no. 1 with a Flipper as the diffuser may work just fine. At aquarium no. 2, on the other hand, CO2 fertilization does not work, because the Inline Atomizer connected to it needs a very high working pressure. A compromise has to be found here.
If a splitter is operated with different CO2 diffusers, you take the diffuser that needs the highest working pressure into account. The pressure reducer should then be set to this pressure. Diffusers that need significantly less pressure can then be adjusted to the required level by turning the bubble rate down clearly at the needle valve of the distributor. The highest success rate, however, comes when the same type of CO2 injection and diffusers of at least the same type, with similar working pressure requirements, are used on all aquariums.