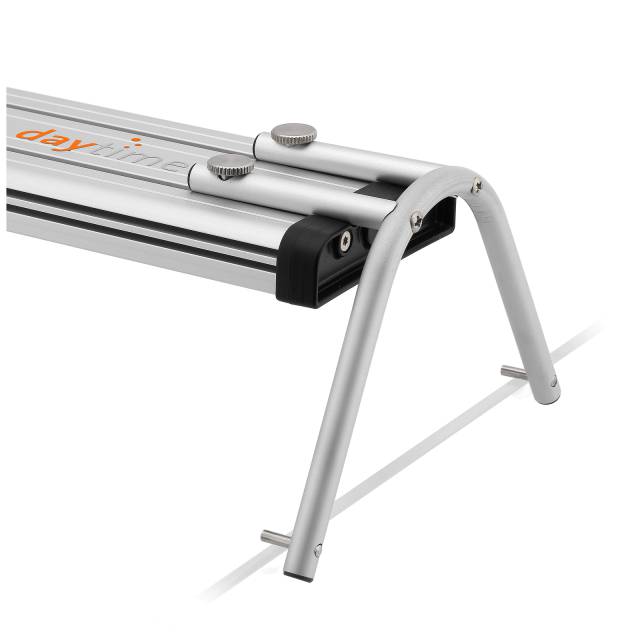
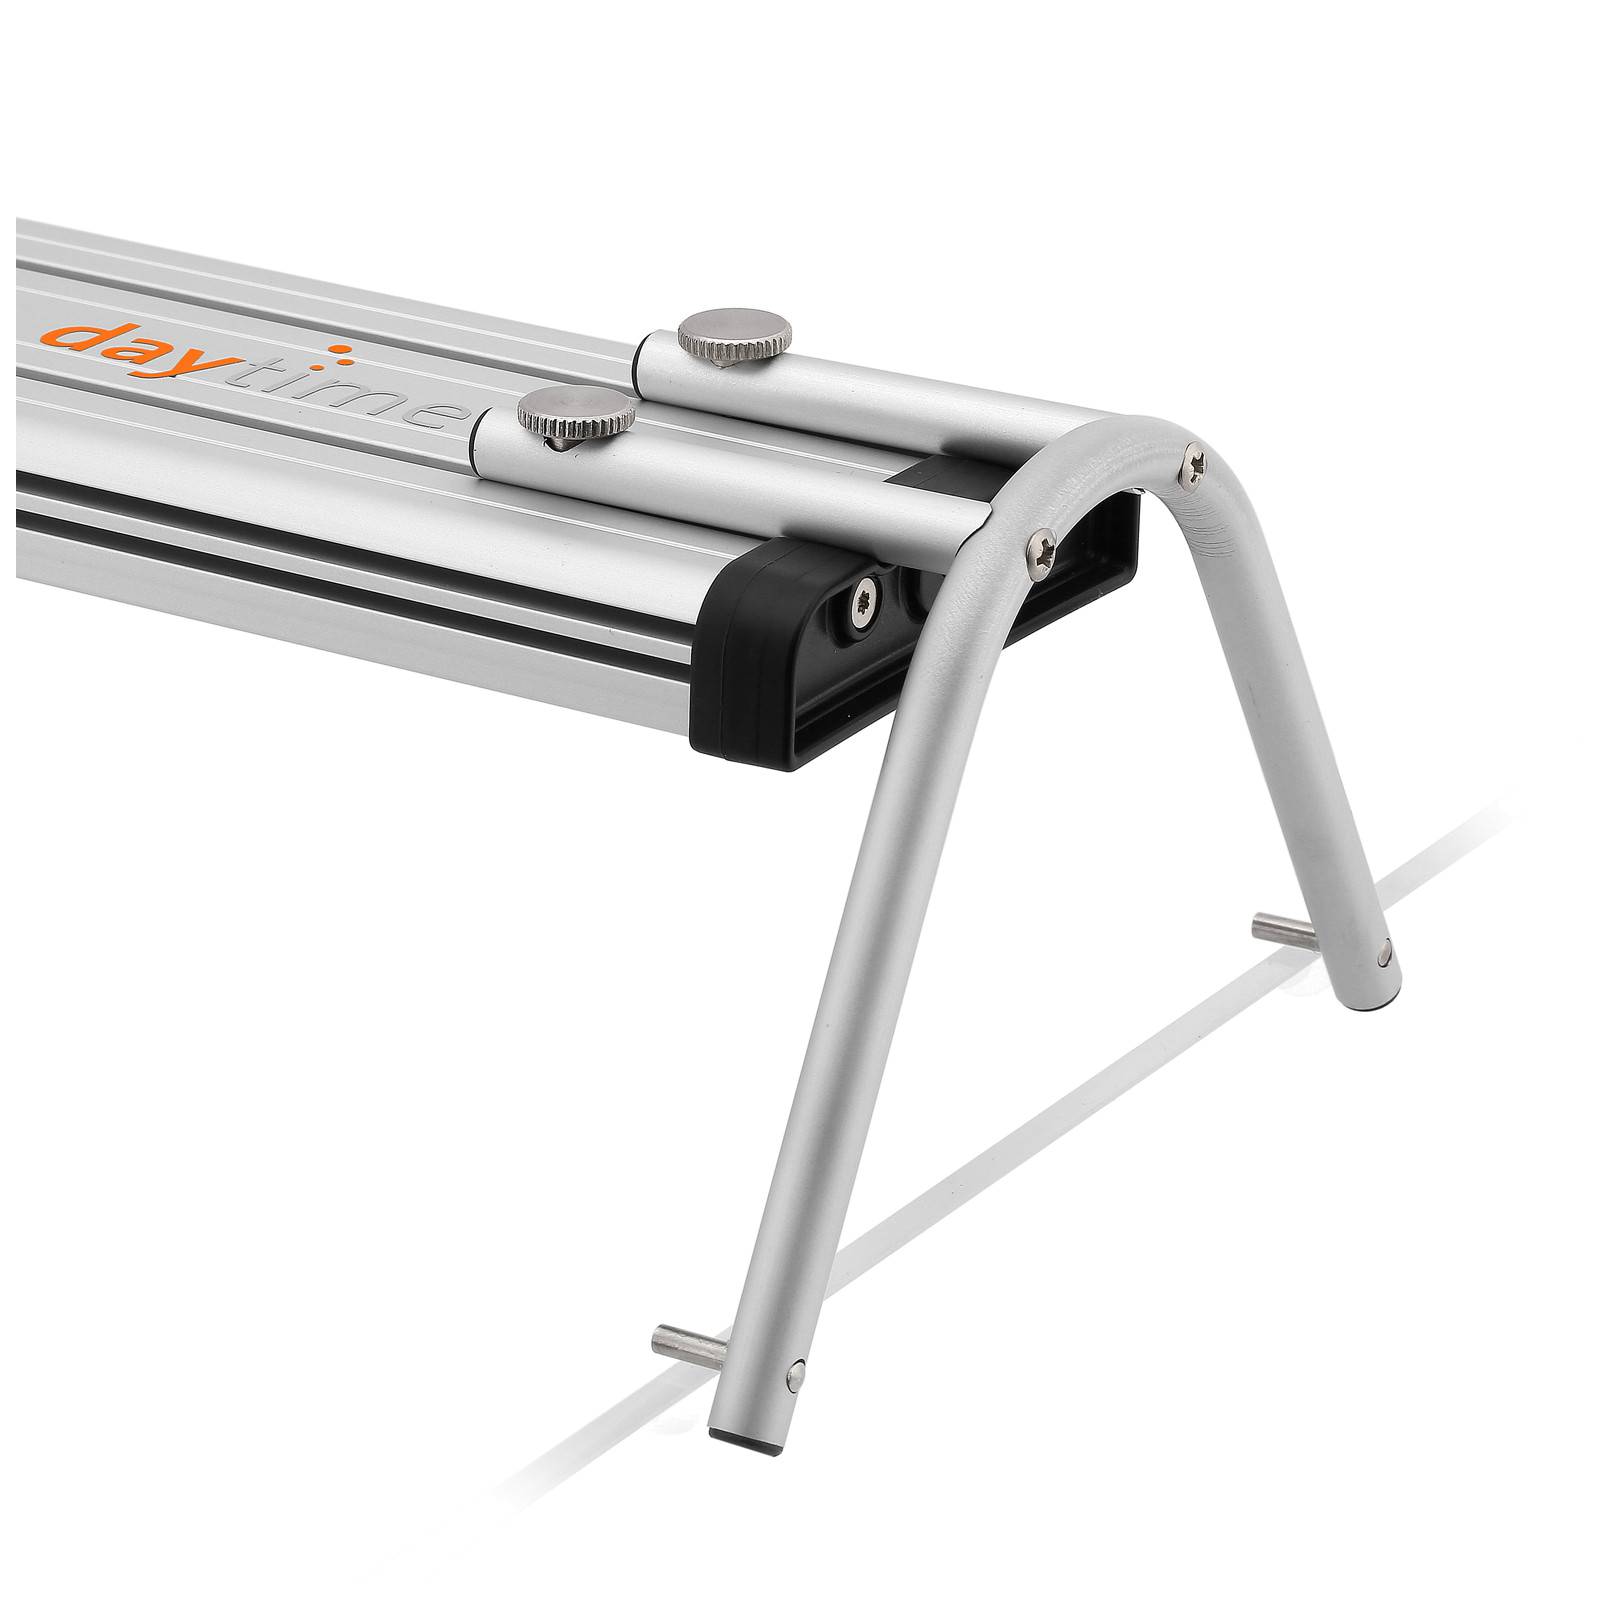
 daytime cluster Swing Adapter
For the cluster series from daytime, there is the so-called Swing Adapter. This mounting option slightly raises the light and at the same time allows fairly long light housings to be mounted on the aquarium. This produces good illumination at the edges. Here we show you how to assemble this adapter.
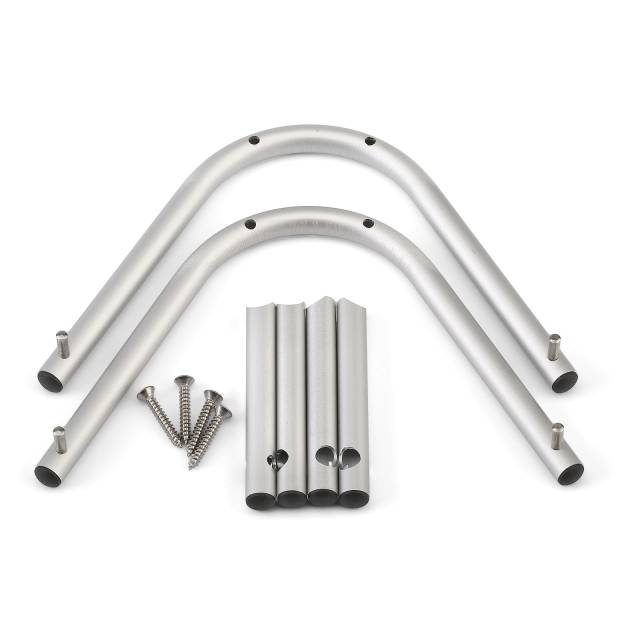
The Swing Adapter set consists of two U-shaped brackets, four perforated pins and the matching screws. The U-shaped brackets have small pins at their ends, which rest on the glass edges of the aquarium. On the fully assembled adapter, these pins should point inward. The larger, perforated pins are now attached to the U-shaped brackets with the screws (you will need a small Phillips screwdriver for this).
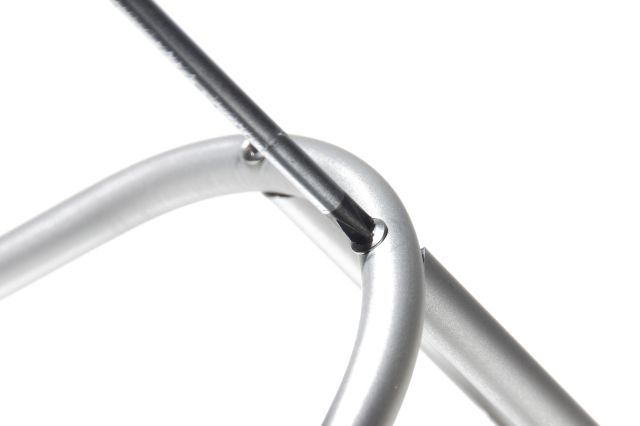
These perforated pins should point in the same direction as the small pins at the ends of the brackets. Once assembled correctly, the holes of the larger pins should be aligned straight with their wider openings (see picture).
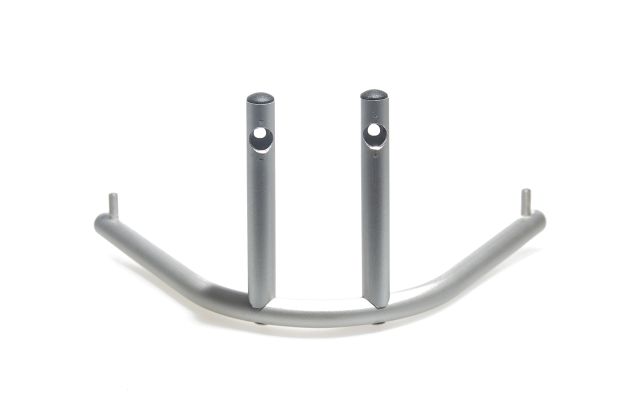
One thing is a little tricky: the two perforated pins only fit the bracket in one particular combination. If they are swapped, the holes are not lined up in one direction but point in different directions (see picture).
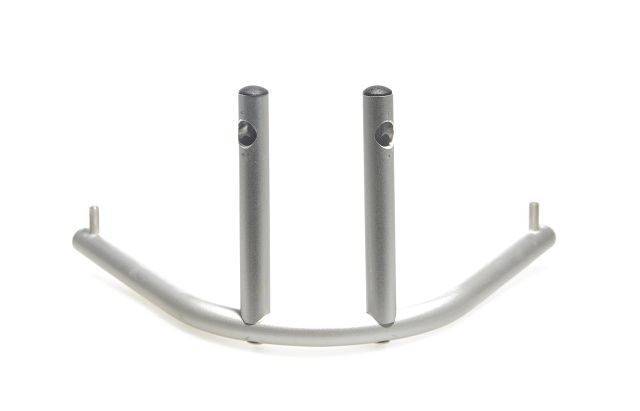
Once the adapter is assembled correctly, it can easily be attached to the light housing with the knurled screws (see this article), and the entire LED lighting can be placed on the aquarium.